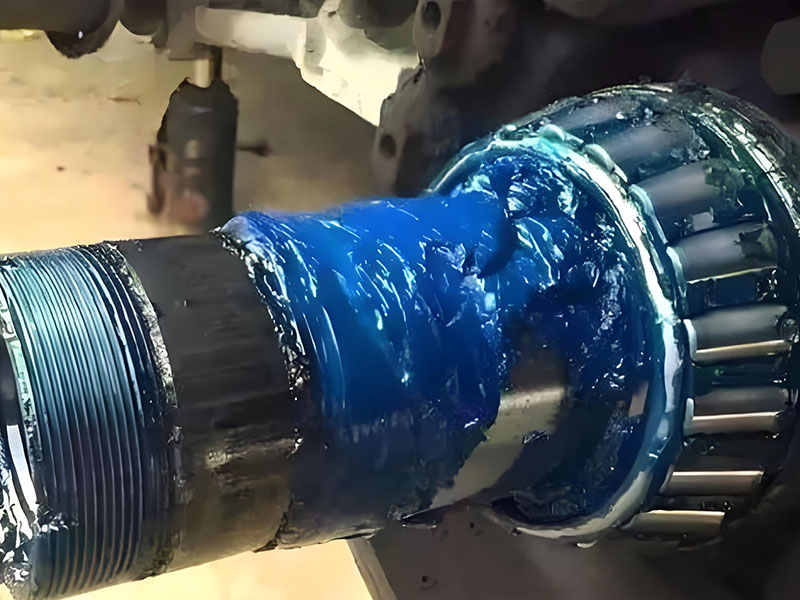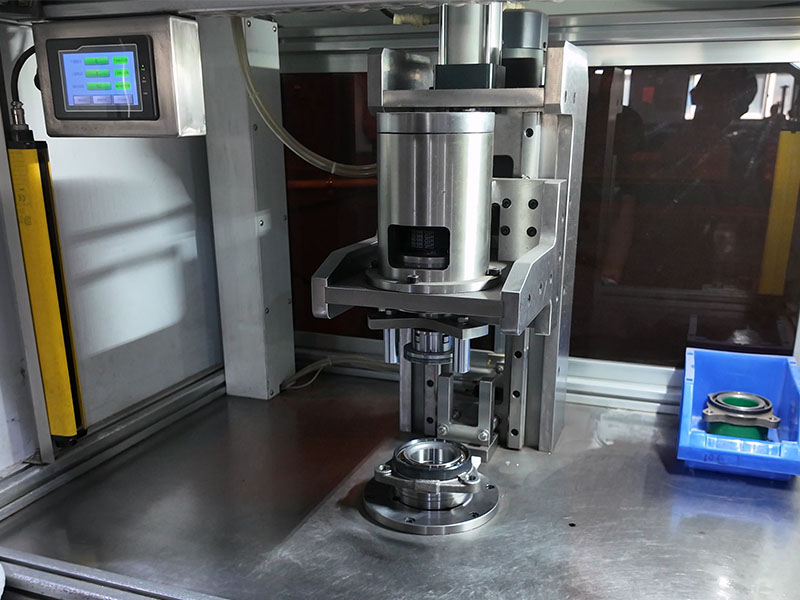
Quick Answer: The wheel hub assembly and the CV joint are separate parts that meet at each driven wheel. The outer CV joint sends drivetrain torque through a splined connection into the hub. The hub bearing assembly supports and locates the rotating wheel at the steering knuckle or hub carrier. Because both share the spline-and-fastener interface, correct fit, alignment, and axle-nut torque matter to each component.
The wheel hub assembly and CV joint relationship is easy to misread because both parts sit at the same corner of the vehicle. One delivers torque. The other carries the wheel and sets its running position. Mixing up those jobs can lead to the wrong diagnosis, the wrong part, or a repair that leaves a bearing preload fault in place.
The sections below separate the two functions, show how the parts connect on a driven wheel, and identify the checks that protect both components during service.
What Each Component Does at the Driven Wheel
The hub bearing unit sits between the rotating drive shaft and the fixed steering knuckle or hub carrier. It supports the vehicle load and locates the rotating wheel. In a driven-wheel layout, the CV axle transmits transmission output torque to the wheel and allows the wheel to keep transmitting power at constant velocity while the wheel steers and the suspension moves.
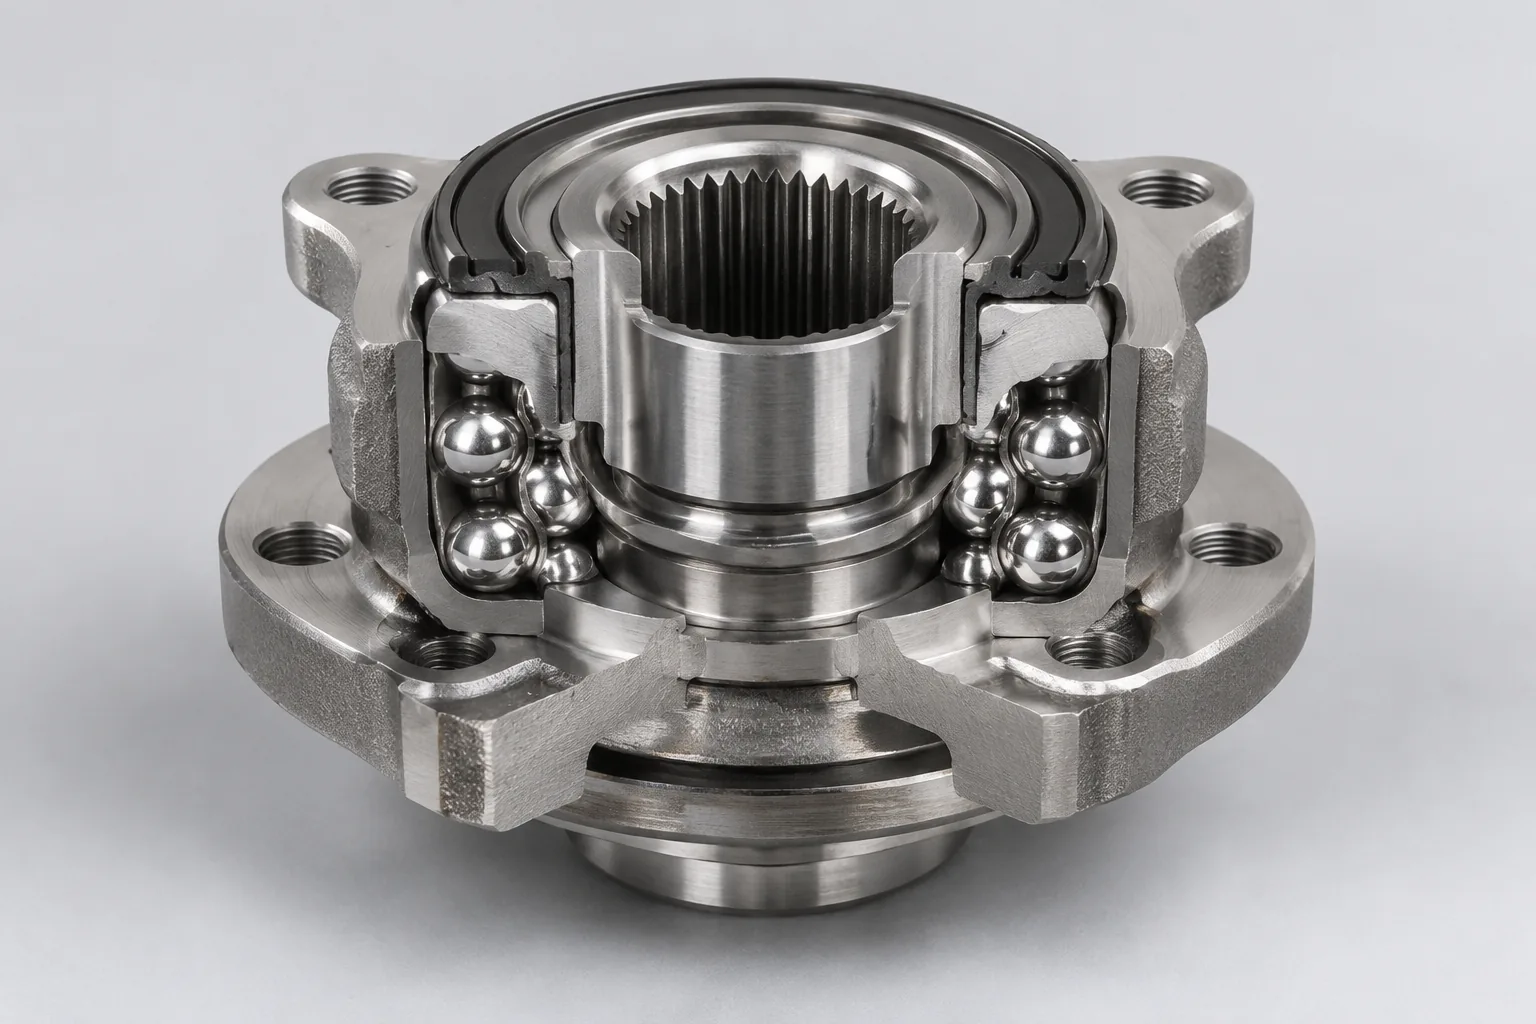
The functional split is simple: the CV joint delivers torque, while the hub assembly supports and locates the rotating wheel. The two parts are mechanically connected, but they are not the same part and they do not fail for the same reasons.
The relationship applies to driven wheels. A non-driven wheel can use a hub assembly without a CV joint. That distinction matters when a noise or play complaint is being checked on a vehicle with only two driven wheels.
How the CV Joint and Wheel Hub Assembly Are Physically Connected
In a conventional driven-wheel design, the outer CV joint connects to the wheel hub through a splined stub shaft. The shaft enters matching splines in the hub center. Drive torque passes through that spline connection into the hub and then into the wheel.
A center axle nut or a long bolt commonly retains the connection. The center axle nut clamps the hub to the CV axle stub. Correct tightening torque establishes bearing preload and helps prevent the bearing from separating in service.
The conventional layout is separable for service, but it is not the only layout. Some integrated hub-and-halfshaft modules use a permanent orbital-formed connection instead of a separable splined joint.
Integrated Hub and Halfshaft Modules
A combined hub-and-halfshaft module called the Compact HHM was developed as a single assembly. It consists of a hub bearing unit, an outer fixed CV joint, an intermediate shaft, and an inner plunge CV joint. It was first shown publicly at the 1999 Frankfurt IAA motor show.
The CV joint and hub unit were joined either by a large-diameter spline with a circlip or by a permanent orbital-formed connection. The module was reported to deliver approximately 10% weight reduction compared with conventional hub arrangements.
Reported weight reduction per axle:
- B-class, 44-66 kW front-wheel-drive application: 0.40-0.60 kg per axle.
- D-class, 110-147 kW front-wheel-drive application: 1.4-1.8 kg per axle.
- D/E-class, 200 kW rear-wheel-drive application: 4.8 kg per axle.
The Compact HHM is a specific integrated design, not a universal configuration for all vehicles. Its existence shows that the CV joint and hub can be separate service parts or combined into one module, depending on the vehicle architecture.
Face Spline Connections
A face-spline design connects the front face of the CV joint directly to a matching spline on the wheel hub. A cone centers the connection, and a single fastener bolt secures it. This is a different interface from the conventional shaft-and-spline arrangement.
In published data for this design, the connection can transmit up to 50% more torque and reduce wheel-end unsprung mass by about 20%. A rear-axle diaphragm boot is listed with a maximum articulation angle of 25 degrees, and an all-wheel-drive model line has used the design since 2013.
Face-spline connections are application-specific. They are not a universal replacement for every splined hub connection, and the vehicle interface must be verified before any service work.
Why Axle-Nut Torque Matters to Both Components
The center axle nut is part of the functional connection between the CV axle and the hub bearing. Correct torque establishes bearing preload and prevents bearing separation during operation. That is why the fastener is not a detail to tighten by feel.
There is no universal axle-nut torque value. The specification varies by manufacturer, model, year, and front or rear axle position. A 2023 torque reference lists front-axle values of 181 N m, 182 N m, 245 N m, 285 N m, and 328 N m for different applications from one vehicle manufacturer. The spread shows why a single generic value cannot be used across a workshop.
Incorrect axle-nut torque, too loose or too tight, can disrupt bearing preload. Incorrect fastener torque is listed as a major cause of poor hub assembly or premature failure even when the CV joint itself is serviceable.
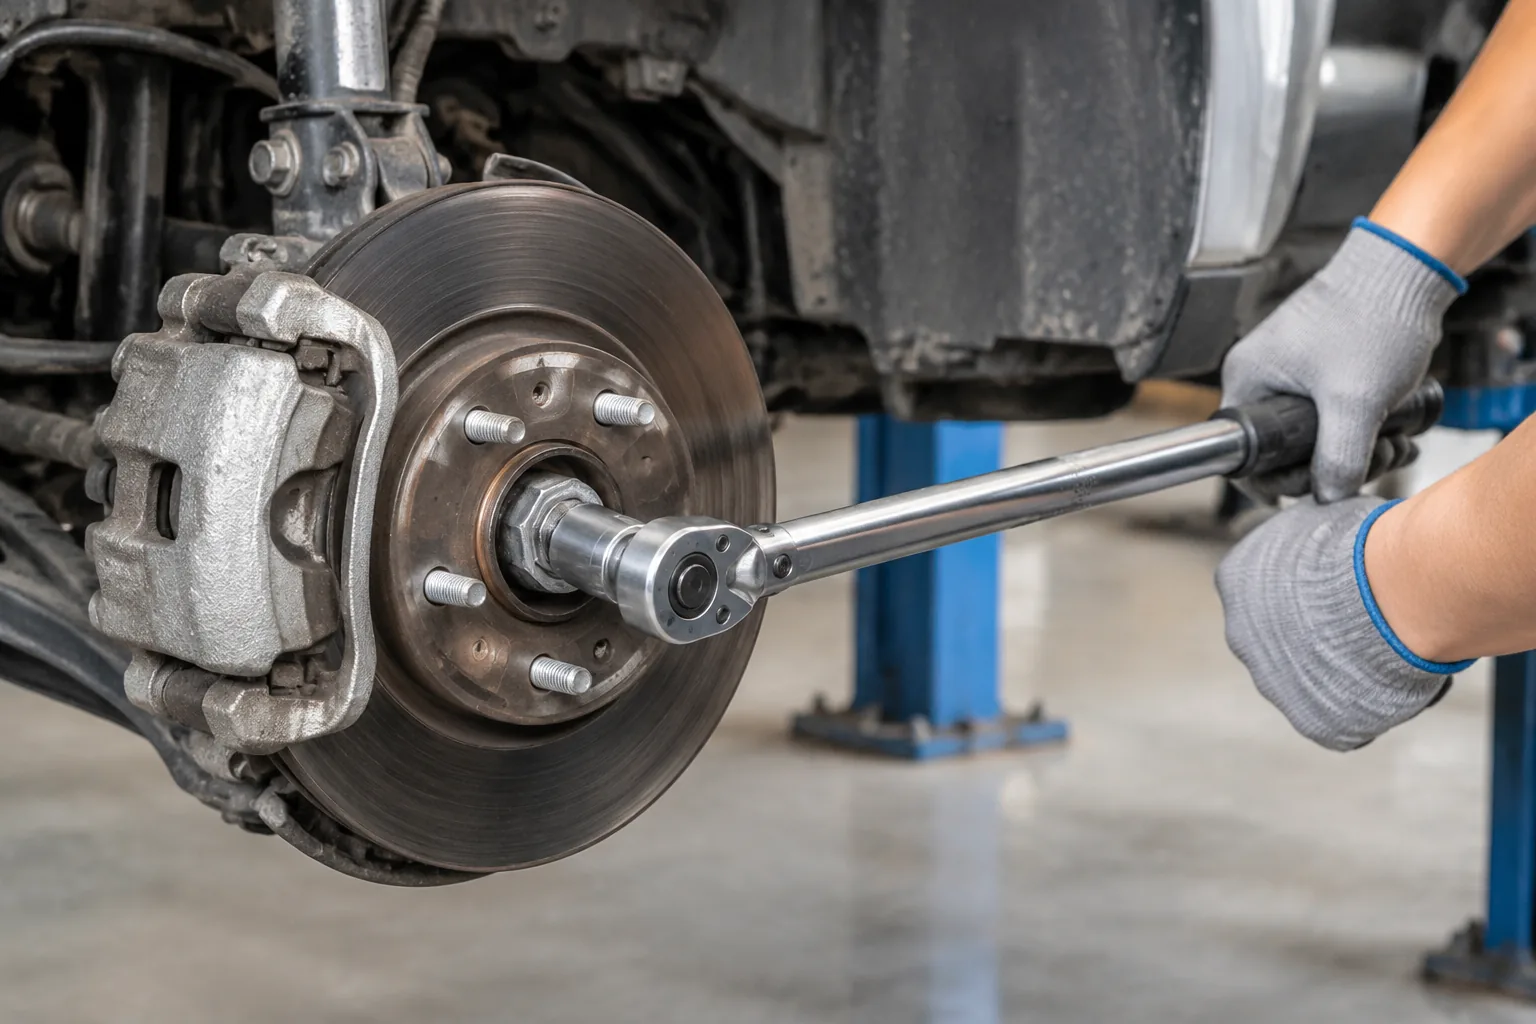
Do not use an impact wrench for final tightening. A calibrated torque wrench is required. An impact wrench can damage the axle nut, the threads, or related parts, and it can produce over-tightening or under-tightening. Use the specific vehicle’s OE service data for the final torque value and tightening sequence.
How CV Joint and Hub Compatibility Is Determined
CV-joint-to-hub compatibility is application-specific. It depends on dimensions such as spline count, thread size, and seal diameter. These are interface facts, not appearance details.
CV joint kit VKJA 3067 lists a wheel-end external spline of 25 teeth, a wheel-end internal spline of 22 teeth, a shaft-end thread of M24 x 1.5, a seal ring diameter of 52 mm, an outer diameter of 89.8 mm, and an ABS reluctor ring with 44 teeth.
A CV joint cannot be matched to a hub by appearance alone. The specific vehicle model and interface specifications must be verified before ordering or installing the part.
What to Check When Servicing a CV Axle at the Hub
CV-axle replacement requires separating the outer CV joint from the wheel hub. The service sequence should follow the vehicle repair procedure, but several checks apply to the hub interface on most driven-wheel designs.
- Remove the axle retaining nut or bolt.
- Separate the CV axle from the hub.
- Clean the hub splines.
- Inspect the CV axle splines for damage.
- Reinsert the axle into the hub during installation.
The hub splines and CV-joint splines must be aligned and free from damage or debris. Clean hub splines and a careful spline inspection prevent poor seating and avoid forcing the joint during installation.
Use a new axle-retaining nut or bolt when the repair procedure specifies one. Tighten it to the OE value and sequence. The ABS sensor can be located close to, or integrated into, the hub assembly, so protect it when removing or installing the CV axle.
Follow the vehicle manufacturer’s lifting, pressing, torque, and lubrication requirements. Those requirements belong to the specific vehicle, not to a general hub or CV-joint rule.
How to Distinguish CV Joint Noise From Hub Bearing Noise
Outer CV-joint problems can produce clicking or popping noise during turns. Hub bearing problems more commonly produce humming, rumbling, or growling noise that changes with vehicle speed or cornering load.
Both components are at the same wheel end and are mechanically connected. Even so, one noise should not be automatically attributed to the other component. Symptoms indicate the need for diagnosis; they do not by themselves prove which part has failed.
A road test, a check of the wheel for play, and an inspection of the CV boots and hub area help separate the possibilities before parts are replaced.
Conclusion
The wheel hub assembly and CV joint are separate parts, but at every driven wheel they meet through a spline-and-fastener interface that carries torque and sets bearing preload. Correct fit, clean and undamaged splines, and the specified axle-nut torque protect both components.
Use model-specific OE service data, a calibrated torque wrench, new fasteners when specified, and a careful check of the ABS sensor. Two limits remain: the CV joint relationship applies to driven wheels, and no universal axle-nut torque exists.
FAQs
Q1: Are the wheel hub assembly and CV joint the same part?
A: No. The CV joint transmits drivetrain torque to the driven wheel. The wheel hub assembly supports, locates, and allows the wheel to rotate at the steering knuckle or hub carrier. They are separate parts connected at each driven wheel.
Q2: Do all wheels have a CV joint?
A: No. A CV joint is used on driven wheels. A non-driven wheel can use a hub assembly without a CV joint.
Q3: What connects the CV joint to the wheel hub?
A: The outer CV joint’s splined stub shaft engages matching splines in the wheel hub center. A center axle nut or long bolt commonly retains the connection.
Q4: Why does axle-nut torque affect the wheel bearing?
A: The axle nut clamps the hub to the CV axle stub. Correct torque establishes bearing preload and prevents bearing separation in service. Incorrect torque can cause premature hub-bearing failure.
Q5: Is there a universal axle-nut torque?
A: No. Axle-nut torque varies by manufacturer, model, year, and front or rear axle. Use the vehicle’s OE service data. A 2023 torque reference lists front-axle values of 181 N m, 182 N m, 245 N m, 285 N m, and 328 N m for different applications.
Q6: Can an impact wrench be used to tighten the axle nut?
A: No. An impact wrench should not be used for final tightening. A calibrated torque wrench is required. An impact wrench can damage the nut, threads, or related parts or produce incorrect torque.
Q7: How can I tell whether noise comes from the CV joint or the hub bearing?
A: Outer CV-joint noise is often clicking or popping during turns. Hub-bearing noise is more often humming, rumbling, or growling that changes with speed or cornering load. Diagnose before replacing either part.
Q8: What should be checked when installing a CV axle into the hub?
A: Clean and inspect the hub splines, check the CV axle splines for damage, align the splines, protect the ABS sensor, use a new axle-retaining nut or bolt when specified, and tighten to the OE value and sequence.