Universal joints (U-joints) are critical components in your vehicle’s drivetrain, allowing the driveshaft to flex and transmit power smoothly. Over time, they wear out, leading to vibrations, clunking noises, or even driveline failure. Replacing a U-joint might seem daunting, but with the right tools, safety precautions, and patience, it’s a manageable task for most DIY enthusiasts. In this comprehensive guide, DUHUI will walk you through every step—from preparation to final checks—so you can replace a U-joint confidently and correctly. Whether you’re a weekend mechanic or a seasoned pro, this article will help you get the job done right.
How Difficult Is It to Replace a U-joint?
Many car owners wonder: “Can I replace a U-joint myself?” The answer depends on your mechanical experience and the tools at your disposal. While it’s not the easiest job for a beginner, it’s certainly achievable with careful planning. Common questions include: “What tools do I need to replace a U-joint?” and “How do I know if my U-joint is bad?” Typically, symptoms like squeaking when reversing, vibrations at highway speeds, or a clunk when shifting indicate a worn U-joint. The replacement process involves removing the driveshaft, pressing out the old joint, and installing a new one—all of which we’ll cover in detail. By following this guide, you’ll not only save money on labor but also gain a deeper understanding of your vehicle’s drivetrain.
Preparation: Safety First and Tool Checklist
Before diving into the replacement, proper preparation ensures a smooth and safe workflow. Skipping these steps can lead to accidents or damage to your vehicle.
Vehicle Lifting and Safety Measures
- Lift the vehicle safely: Use a hydraulic jack to raise the vehicle high enough to access the driveshaft. Always place jack stands under sturdy frame points—never rely on the jack alone.
- Secure the vehicle: Engage the parking brake and chock the wheels that remain on the ground. This prevents any unexpected movement.
- Mark component positions: Before removing anything, use a marker or punch to index the driveshaft and differential yoke. This ensures proper alignment during reinstallation, preventing vibration issues.
Tools and Materials List
Having everything on hand before you start saves time and frustration. Here’s what you’ll need:
General tools: Socket set, wrenches, screwdrivers, hammer, and pliers.
Specialty tools:
- U-joint press or large C-clamp (preferred over hammering to avoid damage)
- Snap ring pliers (internal and external types)
- Torque wrench for precise bolt tightening
Lubricants: High-quality lithium-based or moly grease, and anti-seize compound for bolts.
Auxiliary items: Bench vise (if pressing at home), shop rags, safety glasses, and gloves.
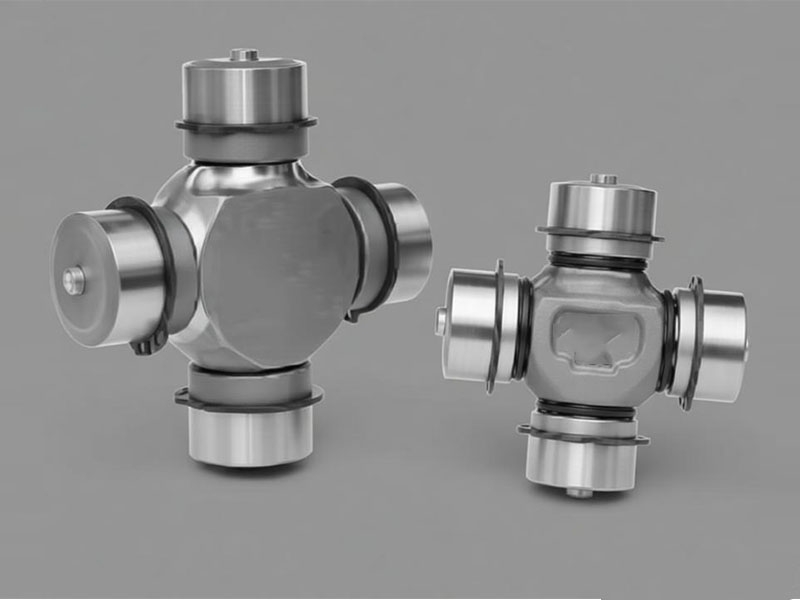
Having a U-joint replacement kit that includes the new joint and snap rings is essential. Always verify the correct size and type for your vehicle.
How to Remove the Old U-joint
Removing the worn U-joint requires careful disassembly to avoid damaging the driveshaft yokes. Follow these steps precisely.
Mark the Driveshaft Alignment
Before unbolting anything, use a scribe or paint marker to draw alignment lines across the driveshaft and the flange/yoke. This ensures you reinstall the driveshaft in the same orientation, preserving balance.
Remove the Driveshaft
- Unbolt the driveshaft from the differential flange (usually four bolts) and from the transmission output yoke (if applicable). On some vehicles, you may need to unbolt the center support bearing.
- Carefully slide the driveshaft out, supporting it to prevent bending. If it’s a two-piece shaft, note the orientation of the slip yoke.
Remove the Snap Rings
Using snap ring pliers, extract the retaining rings from both sides of the U-joint yoke. Some snap rings are internal (inside the yoke), while others are external. Place them in a labeled bag—they may be reused if not damaged, but new ones are recommended.
Press Out the Old U-joint
- Position the driveshaft yoke in a vise or use a U-joint press. If using a vise, place sockets or bearing drivers against the bearing cups.
- Apply steady pressure to push one bearing cup out. If it’s stubborn, gently tap the yoke with a hammer to break rust, but avoid striking the joint directly.
- Once the first cup is out, remove the opposite cup similarly. The U-joint cross will then be free.
- Clean the yoke bores thoroughly with a wire brush or sandpaper to remove rust, dirt, and old grease. Inspect the bores for wear or deformation—if damaged, the yoke may need replacement.
How to Install the New U-joint
Installing a new U-joint demands precision to ensure smooth operation and long life. Here’s how to do it right.
Cleaning and Lubrication
- Clean the yoke bores: Ensure they are completely free of debris. Any leftover rust can hinder proper seating.
- Check for damage: Inspect the yoke ears for cracks or ovaling. If present, replace the yoke or driveshaft.
- Apply grease: Smear a thin layer of grease inside the bearing cups and on the U-joint trunnions (if not pre-greased). This aids assembly and initial lubrication.
Pressing in the New Joint
- Insert the new U-joint cross into the yoke ears, aligning the grease fitting (if equipped) for easy access later.
- Place a bearing cup onto one trunnion and start pressing it in using a C-clamp or press. Ensure the cup goes in straight—tilted cups can damage the needle bearings.
- Press until the cup is flush with the yoke surface, then install the snap ring.
- Repeat for the opposite cup. Important: Do not press beyond the snap ring groove; stop when the groove is exposed.
- After both cups are seated with snap rings, check that the U-joint moves freely without binding. If it’s stiff, tap the ears lightly to relieve pressure.
Lubricating the New U-joint
- Locate the grease fitting (Zerk fitting) on the U-joint cross. If your joint has one, use a grease gun to pump in fresh grease.
- Fill until you see new grease oozing out from all four bearing seals. This purges air and old contaminants.
- Wipe away excess grease to prevent dirt attraction.
Reassembly and Final Checks
With the new U-joint installed, it’s time to put everything back together and verify your work.
Reinstall the Driveshaft
- Align the marks you made earlier to ensure correct phasing and balance.
- Slide the driveshaft into place, engaging the slip yoke if present.
- Bolt the driveshaft to the differential flange and transmission yoke, tightening to manufacturer specifications. Use a torque wrench to avoid over-tightening or under-tightening.
Check for Proper Operation
- Rotate the driveshaft by hand to ensure smooth movement without binding.
- Lower the vehicle and take a short test drive. Listen for any new vibrations or noises. If vibrations occur, recheck alignment and U-joint seating.
Important Tips and Common Mistakes to Avoid
- Use the right tools: Hammering a U-joint can damage the yoke or bearings. A press is always preferred.
- Pay attention to bearing cup orientation: Cups must seat squarely; otherwise, needle bearings will fail prematurely.
- Snap rings must be fully seated: A loose snap ring can allow the U-joint to walk out, causing catastrophic failure.
- Never over‑hammer: If you must tap, use a brass drift to avoid marring.
- Lubricate adequately: Insufficient grease leads to early wear. If the joint has no fitting, it’s sealed and requires no additional grease—but ensure it’s pre-lubricated from the factory.
- Marking is crucial: Even a slight misalignment can cause driveline vibration.
- Safety first: Always support the vehicle securely and wear protective gear.
Conclusion: Choose Quality Components for a Lasting Repair
Replacing a U-joint is a rewarding DIY task that extends the life of your drivetrain. By following this step-by-step guide, you’ve learned how to safely remove the old joint, install a new one, and perform essential checks. Remember, the key to a successful U-joint replacement lies in patience, precision, and using high-quality parts. At DUHUI Bearing, we specialize in manufacturing premium automotive wheel hub bearings and a wide range of other bearings, including U‑joints that meet or exceed OEM standards. Visit our website to explore our catalog and find the perfect U‑joint for your vehicle.


