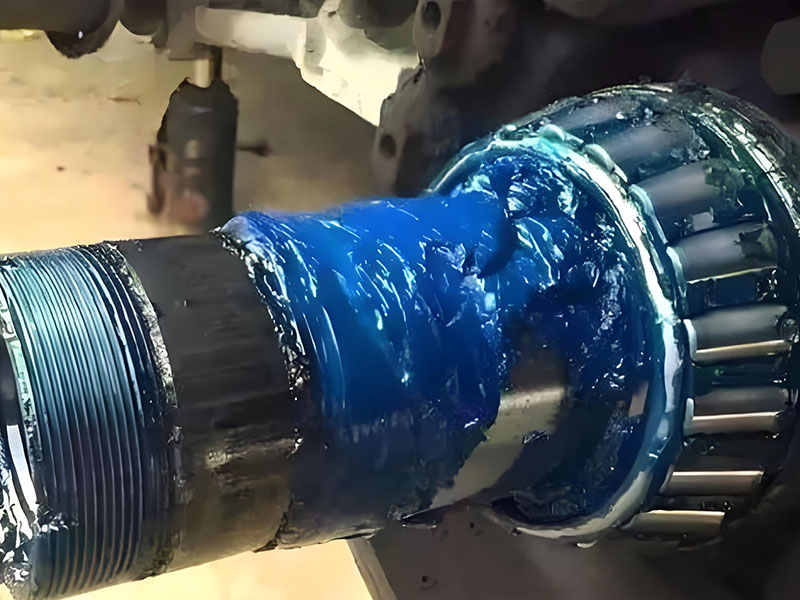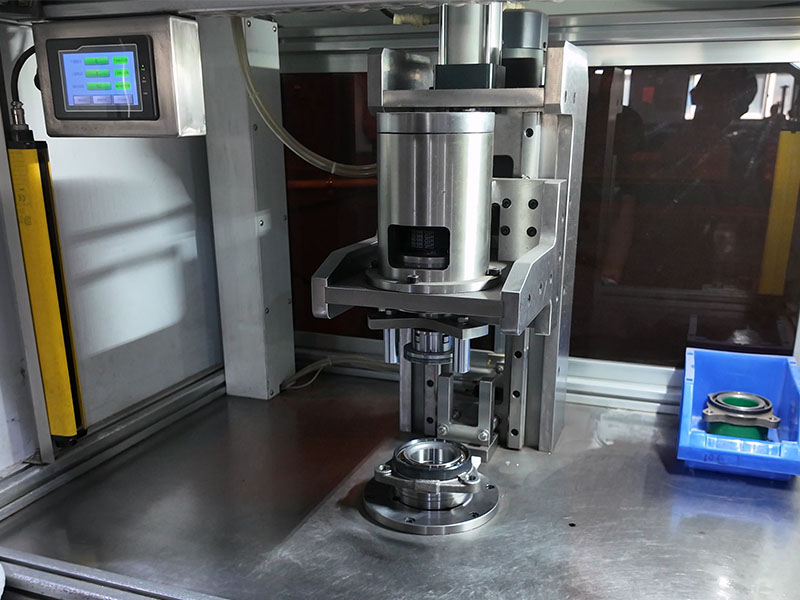
Quick Answer: Axle nut maintenance is a torque-controlled wheel-end task. The axle nut, or spindle nut, retains the hub or bearing assembly and can set bearing preload. Use the OEM procedure for the exact vehicle, axle, and nut design; inspect the nut and threads, replace one-time-use nuts when specified, tighten with a calibrated torque wrench, and restore the required lock. Never guess torque from nut size or appearance.
Axle nut maintenance sits at the junction of bearing life, wheel-end safety, and correct service procedure. The fastener looks simple, but its torque and locking method can determine whether a hub bearing runs at the intended preload or fails early. This guide explains what the nut does, why vehicle-specific procedures matter, how to inspect and replace it, and how passenger-car and commercial wheel-end practices differ.
Axle Nut Function and Wheel Bearing Preload
The axle nut, also called a spindle nut, is the center nut that connects the halfshaft to the hub on many wheel-end assemblies. It is not the same fastener as a lug nut or wheel nut, which holds the wheel to the hub, and it is separate from hub mounting bolts. Wheel-end diagrams commonly label the axle nut, hub mounting bolts, and lug nuts as different items because each has a different job.
On designs where the axle nut retains the hub or bearing assembly, correct axle-nut torque establishes wheel-bearing preload and helps prevent the bearing assembly from separating during operation. Incorrect torque is an important cause of improper hub installation and premature bearing failure. The nut, the axle thread, the seating face, and the locking feature all take part in that result.
Why Axle Nut Maintenance Matters
Maintenance protects bearing preload, wheel-end assembly integrity, and safe operation. A loose or incorrectly tightened nut can allow bearing separation or premature failure. Over-tightening is also a risk: Hendrickson warns that an over-tightened spindle nut may cause bearings to run hot and be damaged, and that not following the installation instructions may lead to wheel detachment.
Passenger-car, trailer, and commercial wheel ends use different adjustment and locking systems, so the consequences and procedures differ by design. A procedure that is correct for one hub or spindle system is not automatically correct for another. Use the applicable OEM or system-specific document before loosening, tightening, or locking any axle nut.
Axle Nut Torque Is Vehicle-Specific
There is no universal axle-nut torque for all vehicles or all nut designs. Use the vehicle manufacturer’s service procedure for the exact VIN, model year, axle, and nut system. SKF states that the applicable OEM service procedure takes precedence over a generic torque value, and its 2023 torque guide lists values by brand, model, year, and footnote conditions rather than as one global figure.
An axle-nut specification can include more than a single torque number. It may require a new nut, a torque-plus-angle step, a tighten-loosen-retighten sequence, a specific lubricant or dry installation, a back-off angle, or a particular locking method. The SKF guide’s footnotes include replace-nut, torque-plus-angle, and tighten-loosen-retighten procedures, which shows why copying only a number is unreliable.
OEM Service Procedure Takes Precedence
The OEM service manual is the controlling document for final torque, lubrication or dry installation, additional angle, back-off angle, and locking method. Do not transfer a torque value from one model, axle, or nut design to another. When the OEM procedure specifies a new nut, use a new nut rather than reusing the old one. Final torque and locking steps must match the exact vehicle, axle, and nut system.
Model-Specific Torque Examples
These examples are tied to the vehicles and parts covered by the cited document. They are not universal values.
- Mitsubishi TSB-12-26-001, dated June 2012, changed certain 2011 Lancer, Lancer Sportback, Ralliart, and Evolution front axle nuts from a castellated nut with cotter pin to a staked flange nut. For that change, the specification changed from 144-176 N·m to 270 +/- 27 N·m.
- Hyundai TSB 20-DS-001H requires a new axle nut, a final torque of 294.2-313.8 N·m (217.0-231.5 lb-ft), and staking on both sides after final tightening.
- Kia TRANS 026 / SA011 specifies 195-273 N·m (144-202 lb-ft) for the axle nut on certain 2010 Forte procedures, followed by staking. The same procedure requires a new cotter pin for the tie rod end.
- Subaru WRL-21 specifies 220 N·m (162.3 lb-ft) for axle nut part number 902170049 in the covered recall repair.
Do not use the Subaru value, Mitsubishi value, Hyundai value, or Kia value as a universal axle-nut torque. Each value applies only to the vehicle, part number, and procedure covered by the cited bulletin or recall.
Nut Design and Locking Method Changes
Axle nut design can change the required torque and locking method. A castellated nut with a cotter pin, a staked flange nut, and a nut with a keeper or lock ring are different systems. Inspect the installed nut type before selecting a torque or removal method.
The Mitsubishi TSB-12-26-001 example shows the effect: a change from a castellated nut with cotter pin to a staked flange nut moved the specification from 144-176 N·m to 270 +/- 27 N·m. The nut type and locking feature must match the OEM procedure for the vehicle.
Inspecting an Axle Nut and Wheel End
Inspect the locking feature, nut seating face, threads, and corrosion before deciding whether to reuse the nut. Check whether the wheel end uses a staked, peened, cotter-pin, keeper, or lock-ring system, then follow the OEM reuse rule for that system. Follow OEM checks for bearing play, noise, and wheel rotation where specified; do not treat one symptom as proof of a specific failed part.
Locking Features and Reuse
Many staked axle nuts must be replaced after removal. Hyundai TSB 20-DS-001H requires a new axle nut. For Hendrickson Pro-Torq systems, the manufacturer recommends replacing the keeper each time the nut assembly is removed for bearing maintenance and inspecting the nut bearing face, lock ring groove, and lock teeth before reuse. Replace the nut-and-keeper assembly when wear is questionable.
Do not reuse a nut whose locking feature has been deformed, cracked, or damaged. Reuse is permitted only when the OEM procedure explicitly allows it and the nut passes inspection.
Thread and Seating Surface Condition
Clean the axle threads and nut seating face before installation. Check for damaged threads, corrosion, galling, or a deformed nut. Protect the halfshaft threads during removal; Nissan NTB21-013B / FA21-001B specifies Cape Chisel NI-52982, formerly J-52982, to release the stake from the halfshaft keyway without damaging the halfshaft thread. Replace damaged fasteners rather than forcing them onto the axle.
Thread condition and cleaning requirements follow the OEM procedure for the specific axle.
Removing and Installing an Axle Nut
Removal and installation must follow the OEM sequence, including releasing the locking feature before loosening the nut. Use a calibrated torque wrench for final tightening. After final torque, restore the specified locking method, such as staking, a cotter pin, or a keeper. Verify the final assembly before returning the vehicle or wheel end to service.
Release the Lock Before Removal
On a staked axle nut, release the staked area before turning the nut. Nissan NTB21-013B / FA21-001B, dated March 29, 2023, requires un-staking the nut from the halfshaft keyway before front axle nut removal and specifies the Cape Chisel NI-52982, formerly J-52982, to avoid damaging the halfshaft thread. The procedure covers certain 2018-2023 LEAF, 2019-2023 Altima, 2020-2023 Sentra, 2021-2023 Rogue, and 2022-2023 Pathfinder vehicles.
Do not apply the Nissan tool or procedure to a different nut design without confirming the OEM method.
Clean, Inspect, and Prepare
Clean the axle thread and nut contact face. Inspect the nut and axle for thread damage, corrosion, or deformation. Use a new nut where the OEM requires replacement, and confirm the correct nut part number and locking type before installation. Preparation steps follow the OEM procedure and the condition of the axle and nut.
Torque and Lock in the Correct Sequence
Tighten the axle nut to the OEM torque with a calibrated torque wrench. If the OEM specifies an additional angle, a back-off angle, or a tighten-loosen-retighten step, perform it exactly. After final torque, apply the specified locking method, such as staking on both sides after final torque or a new cotter pin. Hyundai requires staking on both sides after final torque; Kia requires staking after the specified torque on the covered 2010 Forte procedure.
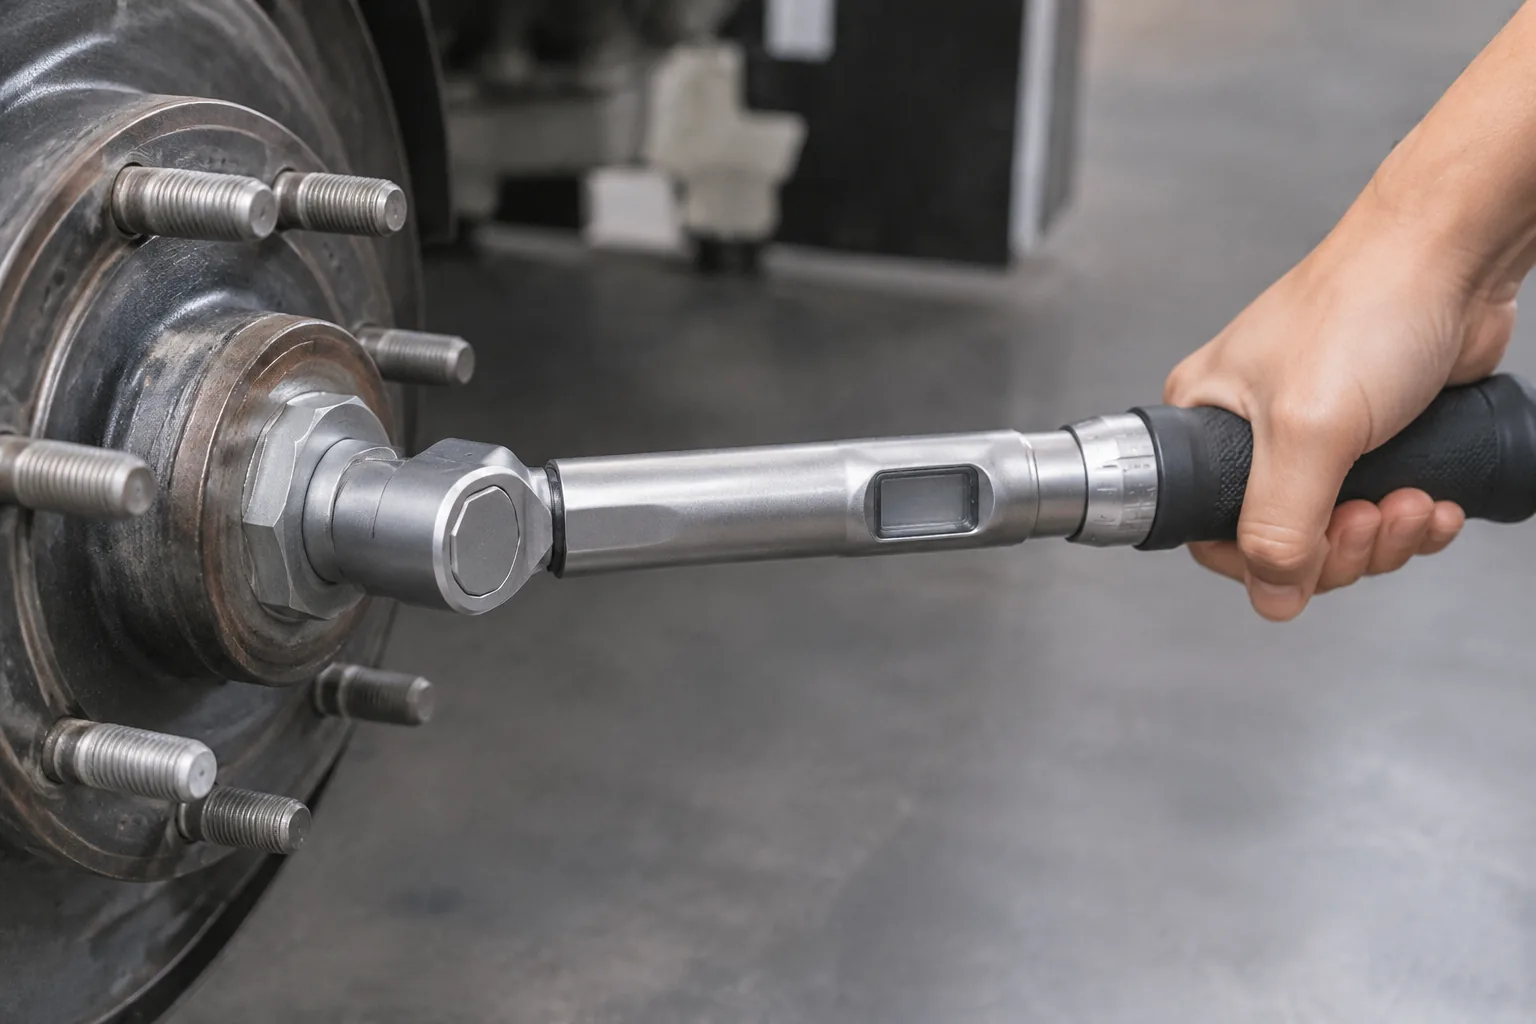
Hyundai TSB 20-DS-001H uses 294.2-313.8 N·m (217.0-231.5 lb-ft), a new nut, and staking on both sides. Kia TRANS 026 / SA011 uses 195-273 N·m (144-202 lb-ft), then staking; the same procedure also requires a new cotter pin for the tie rod end. Locking is performed only after the final torque step is complete.
Verify the Final Assembly
Confirm that the locking feature is fully engaged after final torque. Where the OEM or system procedure requires it, confirm free wheel rotation and correct bearing end play. Dexter F24 requires a dial indicator to verify 0.001-0.005 in end play and confirmation that the wheel turns freely. Do not release the vehicle or wheel end until the specified locking and verification steps are complete.
Commercial Vehicle Spindle Nut Adjustment
Commercial adjustable wheel ends use different procedures from passenger-car axle nuts. Separate conventional or manually adjusted wheel ends from pre-set and unitized wheel ends, and use the system manufacturer’s procedure for the specific spindle nut design. Do not mix passenger-car torque values with commercial spindle nut adjustment procedures. Pre-set and unitized wheel ends do not use the conventional manual adjustment procedure.
TMC RP 618C and Bearing End Play
As of 2026, TMC RP 618C is the current recommended practice for wheel bearing adjustment on conventional or manually adjusted wheel ends. Its target bearing end play is 0.001-0.005 in (0.025-0.127 mm). RP 618C does not apply to pre-set or unitized wheel ends.
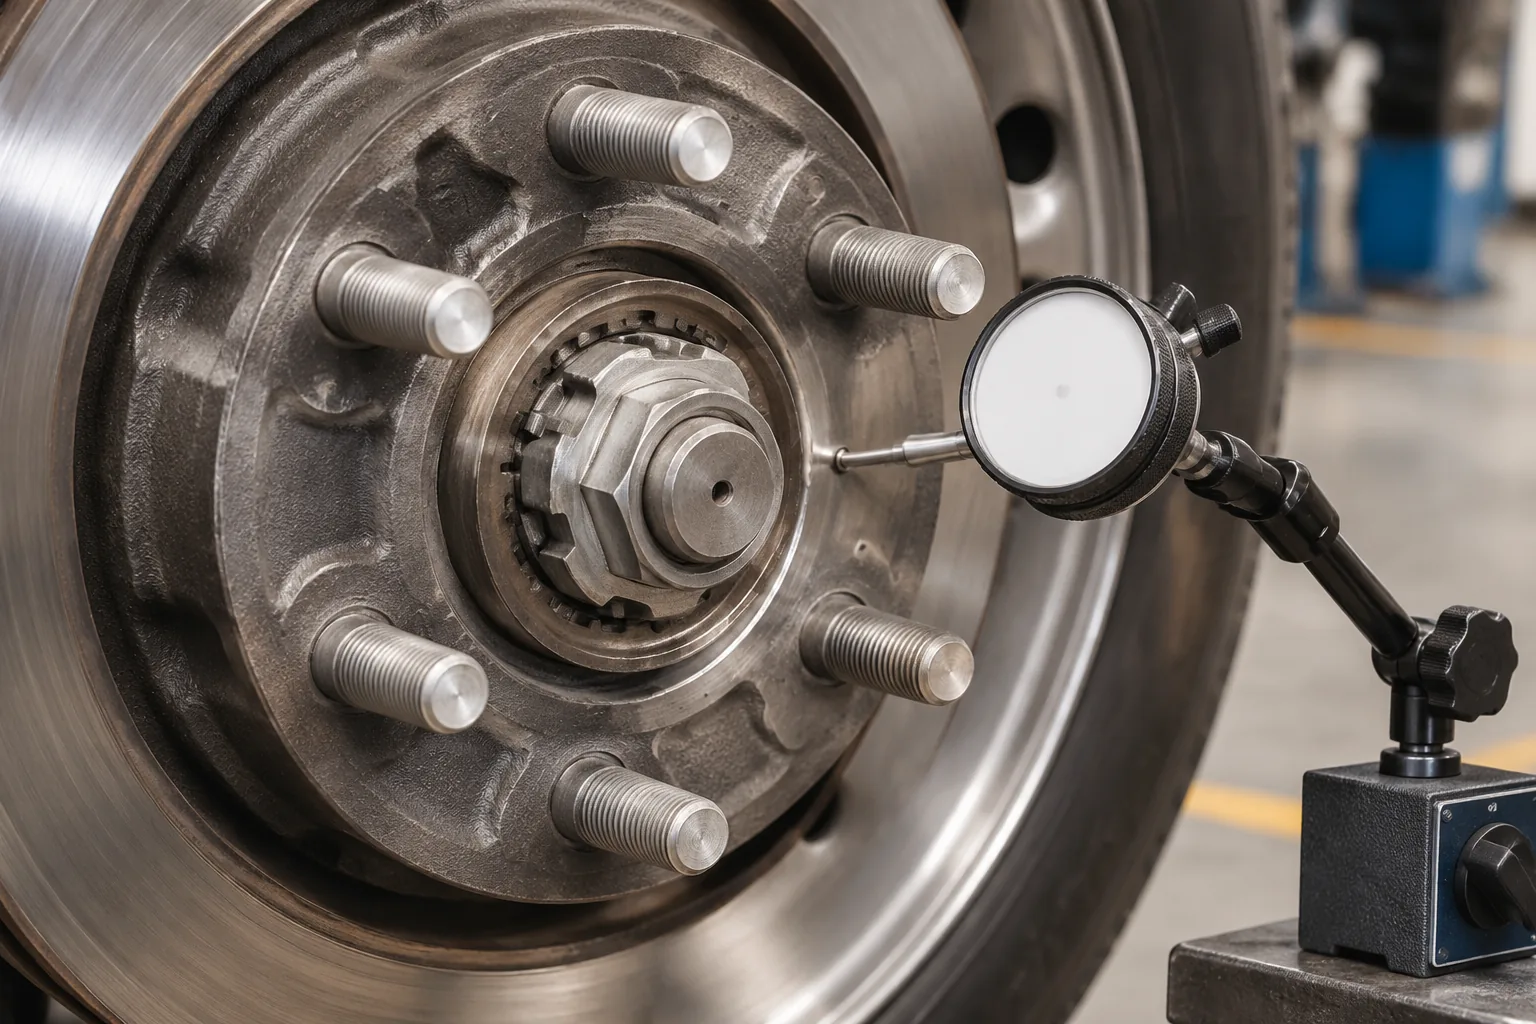
TMC Recommended Practices are voluntary industry recommendations, not vehicle-maker service specifications or federal regulations. Use RP 618C only within its stated scope, and use the vehicle or system manufacturer’s procedure where one applies.
Hendrickson Three-Piece Spindle Nut Example
For the specified Hendrickson standard three-piece spindle-nut system, turn the hub while tightening the inner adjusting nut to 270 N·m. Back the nut off one full turn. Turn the hub again and tighten to 70 N·m. Then back off exactly 1/4 turn (90 degrees).
Use this sequence only for the specified Hendrickson wheel end, not as a general passenger-car procedure. Hendrickson warns that over-tightening can cause high bearing temperatures and damage, and that not following the instructions can lead to wheel detachment.
Dexter and STEMCO Procedures
The Dexter F24 single adjusting nut system targets 0.001-0.005 in end play and requires dial indicator verification and a free-rotation check. Its steps include seating the bearing at 271 N·m (200 ft-lb), adjusting at 68 N·m (50 ft-lb), and backing off 1/6-1/4 turn to the nearest locking hole.
STEMCO PRO-TORQ installation requires a torque wrench. The hub or hub-and-drum seating step repeats 200 ft-lb while rotating the hub, then the nut is loosened before the specific adjustment procedure. STEMCO ZIP-TORQ must not be installed with electric or pneumatic tools and has a target end play of 0.001-0.005 in.
Each procedure applies only to the named product and wheel-end system. The ZIP-TORQ power-tool prohibition is a product-specific requirement and should not be generalized to every axle nut without checking the OEM or system instructions.
Tools and Safe Tightening Practices
Use a torque wrench with an appropriate range and current calibration for final axle-nut tightening. ISO 6789-1:2017 covers design conformity, quality conformity testing, and marking of hand torque tools. ISO 6789-2:2017 covers calibration of hand torque tools and calculation of measurement uncertainty. ASME B107.300-2021 covers hand torque tools and torque testers, including performance, safety, range, and accuracy requirements.
Tool selection and calibration must suit the torque range and the OEM procedure. Follow any product-specific power-tool prohibition, such as the STEMCO ZIP-TORQ requirement.
Common Axle Nut Maintenance Mistakes
- Guessing torque from nut size or appearance instead of using the OEM value.
- Reusing a staked axle nut when the OEM requires a new nut.
- Mixing passenger-car axle-nut procedures with commercial adjustable wheel-end procedures.
- Over-tightening a spindle nut and causing high bearing temperature or damage.
- Skipping the final locking step after torque.
- Removing a staked nut without releasing the stake and damaging the axle threads.
- Using an uncalibrated torque wrench or a power tool where the system prohibits it.
Each mistake is evaluated against the exact OEM or system-specific procedure, not against a general rule of thumb.
Conclusion
Axle nut maintenance is a torque-controlled, design-specific wheel-end task, not a generic tighten-and-go step. Identify the nut type, confirm the OEM procedure, inspect the nut and axle, replace the nut when required, torque with a calibrated tool, and restore the specified lock.
For commercial adjustable wheel ends, use the correct spindle nut procedure and verify bearing end play; do not mix it with passenger-car practice. The safe next action is to obtain the OEM procedure for the exact vehicle, axle, and nut system before service.
FAQs
Q1: What is the difference between an axle nut and a lug nut?
A: An axle nut, also called a spindle nut, is the center nut that connects the halfshaft to the hub on many wheel ends and can set wheel bearing preload. Lug nuts, or wheel nuts, hold the wheel to the hub and are separate fasteners.
Q2: Can an axle nut be reused?
A: Only when the OEM procedure allows reuse and the nut passes inspection. Many staked axle nuts must be replaced after removal; Hyundai TSB 20-DS-001H requires a new axle nut and staking on both sides after final torque.
Q3: What torque should I use for an axle nut?
A: Use the OEM torque for the exact vehicle, axle, and nut system. There is no universal axle-nut torque; examples include 270 +/- 27 N·m for the updated Mitsubishi front axle nut and 220 N·m (162.3 lb-ft) for Subaru part 902170049 in the covered procedure.
Q4: Why does axle nut torque matter?
A: Correct axle-nut torque establishes wheel bearing preload and helps prevent bearing separation during operation. Incorrect torque is an important cause of improper hub installation and premature bearing failure.
Q5: How do I remove a staked axle nut?
A: Release the staked area before turning the nut. Nissan NTB21-013B / FA21-001B requires un-staking the nut from the halfshaft keyway with Cape Chisel NI-52982, formerly J-52982, to avoid damaging the halfshaft thread.
Q6: Do commercial truck wheel ends use the same axle nut procedure?
A: No. Commercial adjustable wheel ends use system-specific spindle nut procedures. TMC RP 618C covers conventional or manually adjusted wheel ends and targets 0.001-0.005 in end play; it does not apply to pre-set or unitized wheel ends.
Q7: Can I use an impact wrench on an axle nut?
A: Follow the OEM or system instructions first. STEMCO ZIP-TORQ prohibits electric or pneumatic tools during installation, and a staked axle nut should have its stake released before removal to avoid thread damage.
Q8: How do I know if an axle nut needs replacement?
A: Replace the nut when it is staked and the OEM requires a new nut, when threads or the seating face are damaged, when the locking feature is deformed, or when the system manufacturer recommends replacement during service.