Quick answer: How do you replace a drive shaft carrier bearing? Symptoms include vibration at 40–60 mph, humming, or clunking. Lifespan is typically 80,000–100,000 miles. DIY parts cost $15–$100; professional replacement runs $200–$500. Key steps: permanently mark all shaft flanges with a punch before disassembly (paint alone can wipe off), remove the driveshaft, press off the old bearing, then install the new one by tapping only the inner race—never the outer race.
A worn drive shaft carrier bearing (also called a center support bearing) can cause vibrations, humming noises, and driveline problems. Knowing how to replace a drive shaft carrier bearing correctly is essential for vehicle safety and performance. This guide answers common questions such as when replacement is needed, what tools are required, and whether the bearing can be replaced without removing the entire drive shaft.
Article Overview
- Goal: Provide a practical guide focused on replacing the drive shaft carrier bearing.
- Applicable vehicles: Rear‑wheel drive (RWD) and four‑wheel drive (4WD/AWD) vehicles with two‑piece drive shafts – including pickup trucks, SUVs, light trucks, and some rear‑wheel drive sedans.
- Difficulty level: High. The main challenges are disassembling the drive shaft, aligning the components correctly, and reassembling them.
- Safety note: If you lack the necessary tools or experience, seek professional help. Always consult the vehicle manufacturer’s repair manual before starting.
What Is a Drive Shaft Carrier Bearing?
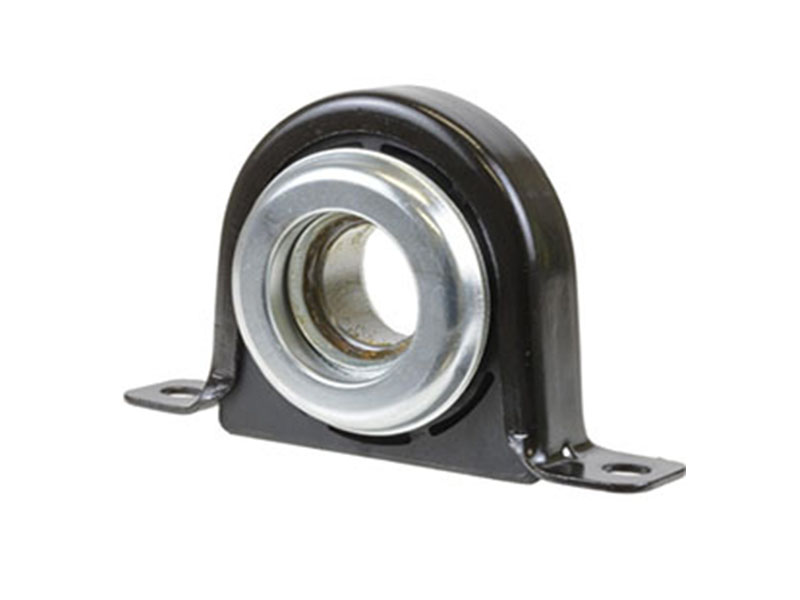
A drive shaft carrier bearing – also referred to as a center support bearing or intermediate bearing – is a bearing mounted in the middle of a two‑piece drive shaft. It is surrounded by a rubber isolator. The bearing keeps the two sections of the drive shaft aligned on the same axis, dampens vibrations, and transmits engine power from the transmission to the rear differential.
Core components: an inner bearing element (single or double‑row radial ball bearing), a rubber isolator, and a metal flange or housing.
Common Types of Carrier Bearings
- Rubber‑cushioned center support assembly: The bearing is pressed into a rubber ring bonded to a metal flange. This is the most common type, effective at isolating vibration and noise.
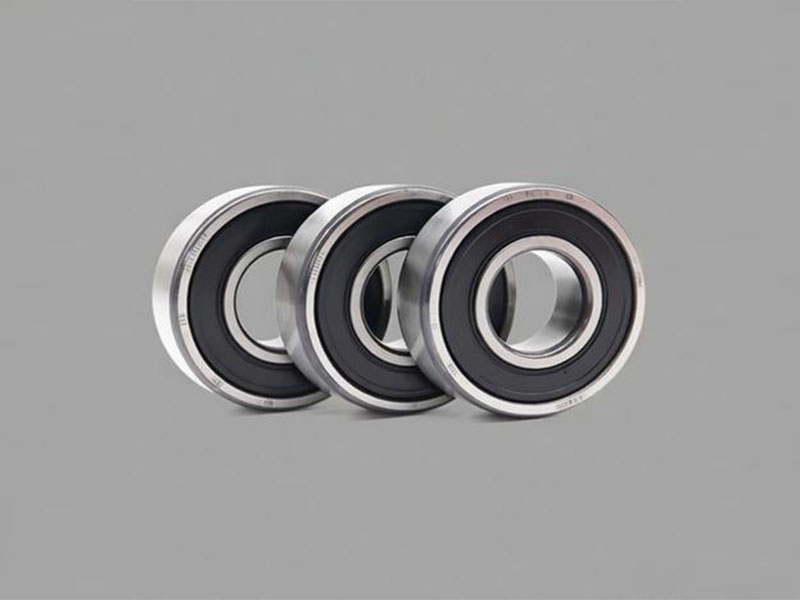
- Press‑fit radial ball bearing: Bearing only, installed with a separate clamping device. Found on heavy‑duty or older vehicles.
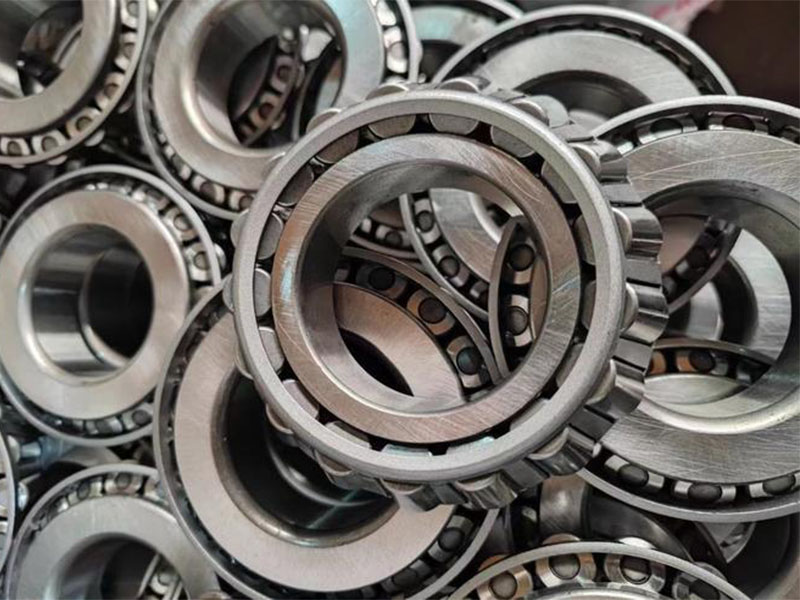
- Double‑row ball bearing: Higher radial load capacity, used on heavy trucks or large drive shafts.
- Sealed vs. serviceable: Sealed bearings are pre‑lubricated and maintenance‑free; serviceable bearings have a grease fitting for periodic relubrication.
- Integrated/flanged carrier bearing: The bearing and bracket are stamped as one unit, easier to replace but higher cost.
Symptoms and Diagnosis of a Failing Carrier Bearing
The following behaviors indicate progressive carrier bearing failure:
- Persistent vibration felt in the middle or rear of the vehicle, often noticeable at specific speed ranges (e.g., 40–60 mph / 65–95 km/h).
- Low‑pitched whirring, humming, or rubbing noise that increases with vehicle speed.
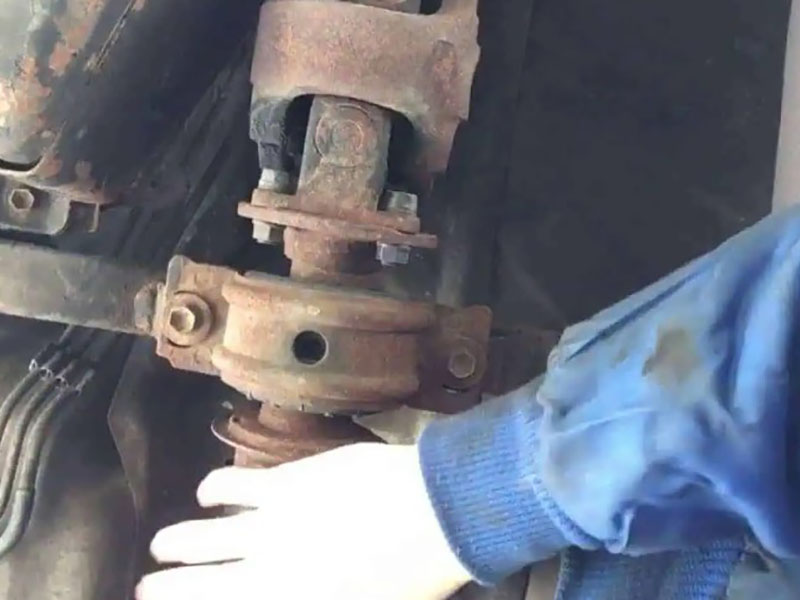
- Manual play: with the vehicle safely lifted, grasping the drive shaft near the carrier bearing reveals noticeable lateral movement, looseness, or a grinding sensation when rotating.
- Cracked, torn, or sagging rubber around the bearing housing.
- Shudder or chuggle from a stop (often rubber isolator aging).
- Clunking during gear changes or acceleration/deceleration.
Consequences If Not Replaced
- Early stage: mild vibration and noise – the vehicle can still be driven for a few days to a week, but repair should be scheduled promptly.
- Developing stage: poor shaft alignment, possible clunking during gear shifts, and increased fuel consumption.
- Severe stage: the drive shaft may break or detach, making the vehicle undriveable and creating a serious safety risk. Even short-distance driving may damage the transmission output shaft.
Assessment of Continued Driving
- Early symptoms only (light vibration, faint noise): short trips for a few days to one week are possible, but repair must be done as soon as feasible.
- Severe symptoms (loud clunking, strong vibration, visible shaft misalignment): do not drive. Have the vehicle towed to a repair shop immediately.
Replacement Cost and Planning

DIY parts cost: For ordinary passenger cars, $15–100. Premium or OEM parts range from $250–330. Professional shop replacement totals $200–500 including labor. Some manufacturers may require a complete drive shaft replacement, costing over $3,200.
Additional recommendation: Replace the universal joints (U‑joints) at the same time as the carrier bearing to avoid repeated disassembly and labor.
Estimated Labor Time
| Repair Option | Estimated Time |
|---|---|
| DIY bearing replacement | 2–4 hours |
| Professional bearing replacement | 1.5–2.5 hours |
| Bearing + U‑joint inspection | 3–4 hours |
| Replace entire driveshaft assembly | 1–2 hours |
Required Tools and Workspace Preparation
- Socket and wrench set (14mm, 17mm, 24mm – exact sizes vary by vehicle)
- Torque wrench covering 15–134 ft‑lbs (20–180 Nm) and impact wrench (recommended)
- Floor jack and jack stands (at least two)
- Bench vise (to secure the drive shaft)
- Snap ring pliers and bearing puller (clamshell‑type preferred)
- Bearing puller, dead‑blow hammer, flat screwdriver
- Penetrating lubricant (PB Blaster or similar), lithium grease, work light
- Angle grinder or Dremel with cutting wheel (for seized bearings)
- Punch or file, plus a paint marker (for permanent alignment marks)
Vehicle Preparation
- Park on a level surface, engage the parking brake, and chock the wheels.
- Raise the vehicle with a jack and support it securely on jack stands – never rely on a jack alone.
- Spray penetrating lubricant on all bolts to be removed, especially if rust is present.
Critical First Step: Make Alignment Marks
Before loosening any bolts, use a punch or file to create permanent alignment marks at every connection point:
- Between the front drive shaft flange and the transmission output yoke.
- Between the rear drive shaft flange and the differential yoke.
- Between the two halves of the drive shaft (if they separate).
After stamping the marks, highlight them with a paint marker for better visibility.
Why this is critical: If the marks are not aligned during reassembly, the drive shaft will be out of balance. This often destroys a new carrier bearing within a short time and causes persistent vibration.
Common Mistakes to Avoid During Replacement
- Inadequate alignment marks: Using a paint marker alone (without a punch) – the mark can be wiped off during work. Always stamp a permanent mark.
- Striking the bearing outer race: Tapping the outer race or dust shield will damage the internal rolling elements. Only strike the inner race.
- Skipping journal cleaning: Rust or burrs on the shaft journal will prevent the new bearing from seating straight.
- Installing the bearing backwards: Sealed bearings have a specific orientation – the seal side typically faces the front of the vehicle.
- Using wrong lubricant: Never apply bearing grease to the differential flange; use only clean gear oil.
- Incorrect torque: Always use a torque wrench to manufacturer specifications.
Step‑by‑Step Replacement Procedure
Removing the Old Bearing
Removing the Drive Shaft Assembly
- Remove the front flange bolts that connect the drive shaft to the transmission. Tap the flange with a rubber mallet to separate it.
- Remove the rear flange bolts at the differential.
- Remove the bolts securing the center support bearing housing to the vehicle chassis. Slide off the dust cover or boot if present.
- Lower the entire drive shaft assembly from the vehicle. Note: The drive shaft is heavy – a second person is recommended for safe handling.
Extracting the Old Bearing from the Shaft
- Snap ring type: remove the snap ring, then slide the bearing off the shaft.
- Press‑fit type: use a clamshell puller to pull the bearing evenly. Alternatively, secure the shaft in a bench vise, then use a socket that matches the inner race diameter. Tap the inner race gently with a hammer. Never strike the outer race or use a cutting torch – this can damage the shaft surface.
- Note: Some vehicles have a pressed metal dust shield in front of the bearing. This shield must be pried off before the bearing or snap ring can be accessed.
Cleaning and Inspection
- Clean the bearing journal (the area where the bearing sits) to remove rust, burrs, and old grease.
- Inspect the journal for scoring, pitting, or unusual wear. A damaged journal may prevent the new bearing from fitting tightly.
Installing the New Bearing
Lubrication Requirements
- Apply a thin coat of lithium grease to the shaft journal before installing the new bearing. This helps the bearing slide into place.
- Warning: When reinstalling the differential flange, do not use bearing grease. Only use clean gear oil – grease will block the oil passages and prevent proper lubrication of the differential.
Bearing Installation Points
- Push or press the new bearing onto the shaft as straight as possible.
- If tapping is required, tap only the inner race edge. Hitting the outer race or the dust shield can damage the bearing internally.
- Use a socket that matches the inner race diameter as a driving tool. Never use a hammer directly on the bearing.
- Heating the bearing to 80–100°C (176–212°F) for 15 minutes can ease installation (ensure the bearing type tolerates heat).
Reassembling the Drive Shaft
- Reinstall the center support bearing housing and tighten its bolts to the specified torque.
- Reinstall the dust cover or boot and secure the clamp.
- Connect the rear section of the drive shaft to the differential flange – ensure the previously made alignment marks match exactly. Use new bolts/nuts if recommended by the manufacturer, and tighten them in stages to the specified torque.
- Connect the front section to the transmission flange, again aligning the marks and torquing the fasteners correctly.
Torque Specifications (Reference Values – Consult Factory Manual)
| Fastener Location | Torque Reference |
|---|---|
| Center bearing retaining bolt | 20 Nm (15 ft‑lbs) + 90° |
| Bracket to body bolts | 60 Nm (44 ft‑lbs) |
| Drive shaft to transmission flange bolts | Approx. 25 Nm (19 ft‑lbs) |
| Rear center bearing to bracket | 20 Nm (15 ft‑lbs) |
| Transmission mount to body | 60 Nm (44 ft‑lbs) |
| Press‑fit bearing to shaft | No torque value – interference fit only |
Source: Selected vehicle service manuals and technical bulletins. Different brands, years, and models have significantly different torque requirements. Always verify before final tightening.
Post‑Replacement Road Test and Verification
Test Procedure
- Low speed (15–20 mph / 25–30 km/h): Listen for vibrations or unusual noises.
- Medium to high speed (45–60 mph / 70–95 km/h): Check for overall smoothness.
- Acceleration and deceleration test: In a safe area, gently accelerate and decelerate several times. Listen for any clunking or banging sounds when load changes.
- Optional high‑speed test (70 mph / 110 km/h): If traffic and road conditions permit, observe whether any new harmonic vibrations appear.
Post‑Test Inspection
- After the road test, inspect the new bearing area for oil leaks, abnormal heat, or any loose bolts.
If Vibration Persists
- Most common cause: alignment marks were not matched correctly, causing drive shaft imbalance.
- Other possible causes: the drive shaft itself is bent or damaged; the universal joints (U‑joints) are worn; the new bearing was installed crooked; or the wheels/tires have their own balance issues.
Conclusion
The drive shaft carrier bearing is essential for power transmission and driving smoothness. When the symptoms described above appear, prompt diagnosis and replacement of the drive shaft carrier bearing help avoid further driveline damage and safety hazards. Understanding how to replace a drive shaft carrier bearing correctly ensures the job is done safely and effectively. DIY‑minded owners with the right tools and a suitable workspace can follow this guide. Others are advised to consult a professional mechanic or a specialist drive shaft repair shop.
Frequently Asked Questions (FAQs)
Q1: What are the common structural types of carrier bearings?
A1: Rubber‑isolated integral assembly – bearing pressed into a rubber bushing bonded to a metal flange (most common for passenger cars and light trucks). Single‑row radial ball bearing – plain bearing pressed directly onto the shaft with a separate retaining clip (heavy‑duty or older vehicles). Double‑row ball bearing – higher radial load capacity (heavy trucks). Sealed bearing – pre‑lubricated and maintenance‑free (modern standard). Flanged integral bearing – bearing and bracket are one piece, typically more expensive.
Q2: How can I prevent premature carrier bearing failure?
A2: Visually inspect the rubber isolator regularly for cracks or sagging. Address unusual noises as early as possible. Drive smoothly – avoid aggressive acceleration and frequent heavy loads on rough roads. When replacing the bearing, also check the universal joints, oil seals, and the drive shaft balance.
Q3: Can I replace only the rubber dust boot without changing the bearing?
A3: Technically yes on some vehicle models (e.g., older Mercedes‑Benz W126). However, because the labor involved is almost the same and a degraded boot often means the bearing is near the end of its life, it is generally recommended to replace both at the same time.
Q4: How do I decide if the center bearing must be replaced?
A4: After removing the drive shaft, rotate the bearing by hand. If the rotation feels rough, gritty, or has noticeable play (radial or axial), the bearing must be replaced. Also replace it if the rubber housing is severely damaged.
Q5: After installing a new bearing, vibration remains. What else could cause this?
A5: Alignment marks not matched (most common). Bent or damaged drive shaft. Worn universal joints (U‑joints) that were not replaced. Bearing installed at an angle. Wheel/tire balance issues unrelated to the drive shaft.
Q6: Can I replace the carrier bearing without removing the entire drive shaft?
A6: Not recommended. A bench vise is needed to secure the shaft for safe and precise pressing or tapping of the bearing. Removing the shaft also allows thorough cleaning and inspection of other components.
Q7: Do front‑wheel drive (FWD) vehicles need a carrier bearing replacement?
A7: No. Front‑wheel drive vehicles use half‑shafts (axle shafts) and do not have a center support bearing on a long drive shaft.
Q8: Why do some repair shops insist on replacing the whole drive shaft assembly instead of just the bearing?
A8: Possible reasons: the vehicle model is designed with a non‑serviceable bearing (welded or integrated); the shop wants to avoid the risk of pressing the bearing; or the old shaft journal is already damaged. Seeking a dedicated drive shaft specialty shop is often a better option.
Q9: Are carrier bearings interchangeable between different vehicle models?
A9: No. Always use a vehicle‑specific part. Even the same model with a different engine or year may have a different bearing inner diameter, outer diameter, bolt spacing, or rubber damping characteristic. Use the VIN or carefully measure the shaft journal and bolt spacing before purchasing.
Q10: I hear a “clicking” or “tapping” noise, not a “whirring” sound. Is that a carrier bearing problem?
A10: Usually not. A low‑pitched “whir” or “hum” is typical for a failing carrier bearing. Sharp clicking or tapping, especially when starting to move or during gear shifts, more often comes from worn universal joints (U‑joints).
Q11: What is the average lifespan of a drive shaft carrier bearing?
A11: Typically 80,000 – 100,000 miles (approximately 130,000 – 160,000 km), depending on driving conditions and maintenance.
Q12: Do I need special tools? Can an average home mechanic do this job?
A12: Special tools required: bench vise, bearing puller (or clamshell puller), torque wrench, snap ring pliers. If these are not available, professional assistance is recommended. The job is demanding even for experienced home mechanics.
Q13: Aftermarket vs. OEM bearing – which should I choose?
A13: OEM bearings guarantee exact fit and reliability. High‑quality aftermarket brands (e.g., SKF, Timken) offer comparable quality at 20–40% lower cost. Avoid unbranded cheap bearings. For older vehicles (10+ years) or if you plan to sell soon, a quality aftermarket bearing is a reasonable choice; for maximum longevity, OEM is safer.
Q14: Does the driveshaft need to be rebalanced after replacing the center bearing?
A14: In most cases, no – if you strictly followed the original alignment marks and installed a quality bearing. However, if persistent vibration remains after double‑checking alignment and U‑joints, consider having the driveshaft professionally balanced at a driveline shop.
Appendix: Safety Quick Notes
- Always use the parking brake plus wheel chocks.
- Jack stands must be placed on firm, level ground – never rely on a jack alone.
- Wear safety glasses – bearings can shatter under impact.
- The drive shaft is heavy; a second person is recommended for lifting and lowering.
- Tighten all bolts to the manufacturer’s specified torque values.
- Before a road test, double‑check that all fasteners are secure.