Quick Answer
Thrust bearings fail through six primary modes: overheating, spalling (fatigue), abrasive wear, brinelling (impact damage), corrosion, and cage damage. Root causes include improper lubrication, contamination, misalignment, excessive load, incorrect installation, and vibration. Prevention requires correct lubricant selection and application, effective sealing, precise alignment, load control, proper mounting techniques, and regular condition monitoring. Early detection through temperature, noise, and vibration monitoring prevents catastrophic failure.
A bearing failure is never just a bearing failure. When a thrust bearing fails unexpectedly, the consequences cascade through your entire operation: production stops, maintenance crews scramble, replacement parts are expedited, and delivery dates slip. The financial impact often far exceeds the cost of the bearing itself.
Understanding why bearings fail is the first step in preventing failure. This guide walks you through the six most common thrust bearing failure modes, their root causes, how to diagnose them from visual inspection, and what you can do to prevent them.
The 6 Most Common Thrust Bearing Failure Modes
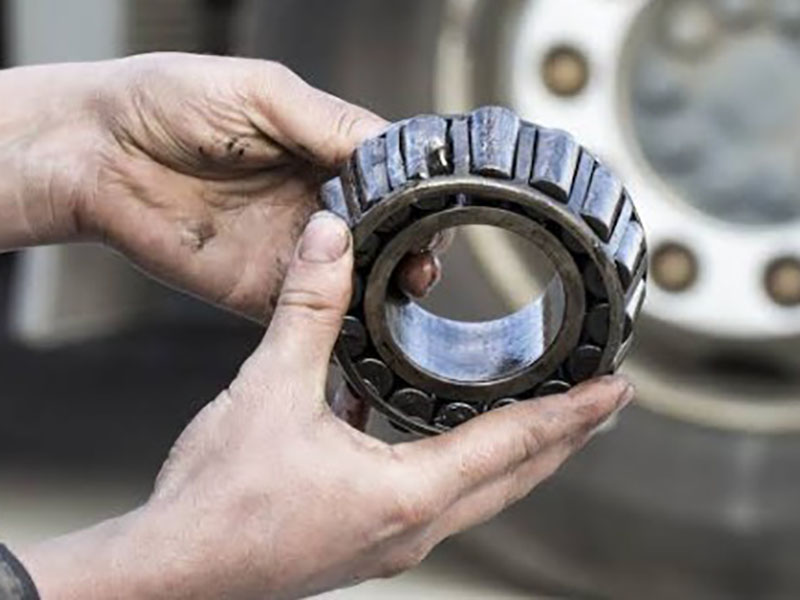
Overheating
Overheating is both a failure mode and a warning sign of other problems.
Visual signs:
- Discoloration of races or rolling elements (blue, brown, or black)
- Degraded lubricant – dark color, burnt odor, caked consistency
- Melted or degraded seals
- Visible heat damage on surrounding components
Root causes:
- Insufficient lubricant quantity or degraded lubricant
- Excessive preload or axial load beyond bearing capacity
- Operating speed exceeding bearing limits
- Tight fits causing loss of internal clearance
- Misalignment generating additional friction
- Over-greasing causing churning losses
Prevention:
- Verify lubrication plan – correct type, quantity, and frequency
- Check load calculations against bearing ratings
- Ensure correct fits (not too tight, not too loose)
- Monitor temperature regularly – a sudden rise is the first warning
- Use cooling systems for high-temperature applications
Spalling (Flaking)
Spalling is the most common fatigue failure mode. It appears as small pits or flakes on the raceways or rolling elements.
Visual signs:
- Small pits or craters on raceway surfaces
- Flakes of metal peeling from the surface
- Rough, uneven surface texture
- Often starts at the subsurface and propagates upward
Root causes:
- Subsurface fatigue from repeated stress cycles (normal end-of-life)
- Excessive preload or axial load (premature)
- Misalignment causing uneven load distribution
- Contamination accelerating fatigue
- Poor surface finish or material defects
Prevention:
- This is the natural failure mode at the end of the bearing’s rated life – replacement is expected
- For premature spalling, re-evaluate load calculations and alignment
- Ensure proper lubrication to reduce friction and stress
- Use high-quality bearings from reputable manufacturers
- Follow ISO 281 for bearing life calculation
Abrasive Wear
Abrasive wear occurs when hard particles enter the bearing and act as cutting agents.
Visual signs:
- Scratching or scoring on raceways and rolling elements
- Dull, matte surface finish
- Gradual loss of material over time
- Wear marks consistent with particle ingress
Root causes:
- Contaminant ingress – dirt, dust, sand, or metal particles
- Inadequate sealing allowing foreign objects to enter
- Dirty lubricant supply
- Poor workspace cleanliness during installation
Prevention:
- Upgrade seals to prevent contaminant ingress
- Ensure clean lubricant supply – filter oil and grease
- Keep workspace clean during installation and maintenance
- For bearings in dirty environments, consider sealed bearings or more frequent relubrication
- Note that rolling-element bearings have film thickness less than 1 micron – even microscopic particles cause three-body abrasion
Brinelling (and False Brinelling)
Brinelling causes permanent indentations on raceways, typically spaced at ball pitch.
Visual signs of brinelling:
- Minute dents on the raceway corresponding to ball locations
- Indentations high on the shoulder of the race
- Often multiple indentations at regular spacing
Root causes of brinelling:
- Impact or shock loading during installation (hammer blows)
- Dropping the bearing during handling
- Static overload from excessive weight
- Using improper mounting tools
Visual signs of false brinelling:
- Axial and circumferential indentations on raceways
- Attrition of the steel surface
- Often appears as a wear pattern rather than discrete dents
Root causes of false brinelling:
- Vibration while the bearing is stationary
- Transport vibration during shipping
- Vibration from nearby running equipment
- Low-amplitude oscillations or vibrations
Prevention:
- Use proper mounting tools – press or fitting tool, never a hammer
- Handle bearings with care – don’t drop them
- Follow recommended storage practices
- For transport, secure equipment to prevent vibration
- Use vibration isolation if bearings are exposed to external vibration
Corrosion
Corrosion is chemical attack on bearing surfaces.
Visual signs:
- Rust or oxidation on surfaces
- Pitting or etching
- Discoloration (red, brown, or black)
- Rough, pitted surface texture
Root causes:
- Moisture ingress through poor seals
- Corrosive agents in the operating environment
- Condensation from temperature cycling
- Degraded lubricant with acidic byproducts
- Improper storage before installation
Prevention:
- Improve sealing to keep moisture out
- Use corrosion-resistant lubricants
- Consider coated bearings for corrosive environments
- Store bearings properly – dry, temperature-controlled, in original packaging
- For intermittent operation, consider anti-corrosion coatings or specialized greases
Cage Damage
The cage (or separator) holds rolling elements in position. Cage damage leads to rolling element misalignment and rapid bearing failure.
Visual signs:
- Cracked, deformed, or broken cage
- Cage wear or abrasion
- Rolling elements out of position
- Cage material debris in the bearing
Root causes:
- Vibration causing cage fatigue
- Excessive speed generating high centrifugal forces
- Wear from lack of lubrication
- Blockage or obstruction
- Misalignment causing uneven loading on the cage
- Contamination debris between cage and rolling elements
Prevention:
- Operate within speed limits
- Maintain proper lubrication
- Ensure correct alignment
- Keep contaminants out
- Use bearings with robust cage designs for high-vibration applications
Failure Mode Quick Reference Table
| Failure Mode | Primary Visual Sign | Most Common Root Cause | Immediate Action |
|---|---|---|---|
| Overheating | Blue/brown discoloration | Insufficient lubrication | Check lubricant level and type |
| Spalling | Pits or flakes on raceway | Fatigue (end of life) or overload | Replace bearing; check load |
| Abrasive Wear | Scratching or scoring | Contaminant ingress | Improve sealing; replace bearing |
| Brinelling | Dents at ball spacing | Impact during installation | Replace bearing; use proper tools |
| Corrosion | Rust or pitting | Moisture ingress | Improve sealing; replace if pitted |
| Cage Damage | Cracked or broken cage | Vibration or lubrication failure | Replace bearing; check alignment |
In-Depth Root Cause Analysis
How to Diagnose Failure from Visual Inspection
Step 1: Clean the bearing. Wash in cleaning solvent and apply compressed air (do not spin the bearing). Apply light oil. Check for roughness by slowly turning the race by hand.
Step 2: Examine the raceways. Look for:
- Pits or flakes = spalling
- Dents = brinelling
- Scratching = abrasive wear
- Rust or discoloration = corrosion
- Uneven wear path = misalignment
Step 3: Examine the rolling elements. Look for:
- Flat spots = brinelling
- Pitting = spalling
- Scoring = abrasive wear
- Rust = corrosion
Step 4: Examine the cage. Look for:
- Cracks or breaks = cage damage
- Wear = lubrication failure or misalignment
Step 5: Examine the lubricant. Look for:
- Dark color or black = overheating or degradation
- Burnt odor = overheating
- Stiff or caked consistency = lubrication failure
- Metallic particles = wear debris
- Water droplets = moisture contamination
Diagnostic Decision Flow
After completing the five-step inspection, use this flow to determine your next action:
Step 1: Is there pitting or flaking on raceways or rolling elements?
- Yes – Spalling. Replace bearing. Check load and alignment.
- No – Continue to step 2.
Step 2: Are there dents or indentations on raceways?
- Yes – Brinelling. Replace bearing. Review installation procedures.
- No – Continue to step 3.
Step 3: Is there scratching or scoring on surfaces?
- Yes – Abrasive wear. Replace bearing. Upgrade seals and filtration.
- No – Continue to step 4.
Step 4: Is there rust, pitting, or discoloration from corrosion?
- Yes – Corrosion. Replace if pitted. Improve sealing and consider coated bearings.
- No – Continue to step 5.
Step 5: Is the cage cracked, deformed, or broken?
- Yes – Cage damage. Replace bearing. Check speed, lubrication, and alignment.
- No – Continue to step 6.
Step 6: Is there discoloration (blue/brown/black) without other damage?
- Yes – Overheating. Investigate lubrication, load, and speed. May not require immediate replacement if no other damage.
- No – Bearing may still be serviceable. Monitor closely.
Path Patterns – What They Tell You
By examining the wear path pattern on a dismantled bearing, you can gain valuable insight into operating conditions:
| Pattern | Indication |
|---|---|
| Centered, uniform path | Normal operation |
| Path running from one side to the other on non-rotating ring | Misalignment |
| Wide, uneven path on rotating ring | Misalignment |
| Path at edge of raceway | Excessive axial load or incorrect thrust direction |
| No visible path | Insufficient load – rolling elements may be skidding |
Preventive Measures
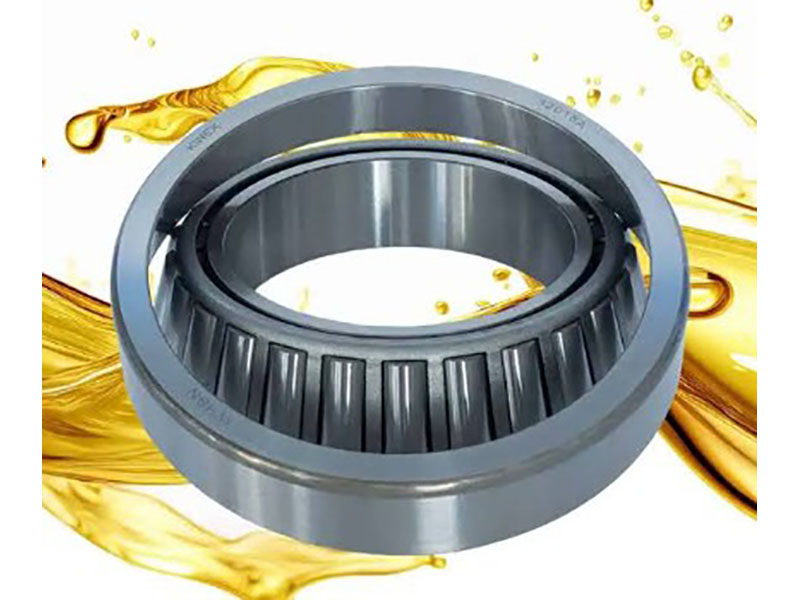
Proper Lubrication
- Use the correct lubricant type and viscosity for your operating conditions
- Follow the manufacturer’s re-lubrication schedule
- Calculate grease quantity using the SKF formula: outside diameter × height × 0.114 (inches)
- Adjust frequency based on temperature, contamination, moisture, vibration, position, and runtime
- For oil-lubricated systems, ensure clean oil with correct ISO viscosity grade (VG 68–220 typical)
Effective Sealing
- Use seals appropriate for your operating environment
- Inspect seals regularly for damage or wear
- Replace seals at the first sign of deterioration
- For dirty environments, consider labyrinth seals or multiple seal arrangements
Precise Alignment
- Verify alignment during installation – use dial indicators
- Check shaft shoulder perpendicularity
- Check housing bore alignment
- For spherical roller thrust bearings, the self-aligning feature compensates for minor misalignment, but excessive misalignment still causes problems
Load Control
- Verify that operating loads are within bearing ratings
- Avoid shock loads where possible
- For impact-prone applications, use bearings with higher dynamic load ratings
- Monitor for unexpected load increases
Proper Installation
- Use correct tools – press or fitting tool, never a hammer
- Apply force only to the race being mounted
- Keep everything clean
- Follow the manufacturer’s mounting instructions
Condition Monitoring
- Monitor temperature daily – sudden rises are early warnings
- Monitor noise – new sounds indicate problems
- Monitor vibration – velocity-peak vibration indicates shock-loading
- Take baseline readings during normal operation and compare regularly
When to Replace vs. Repair
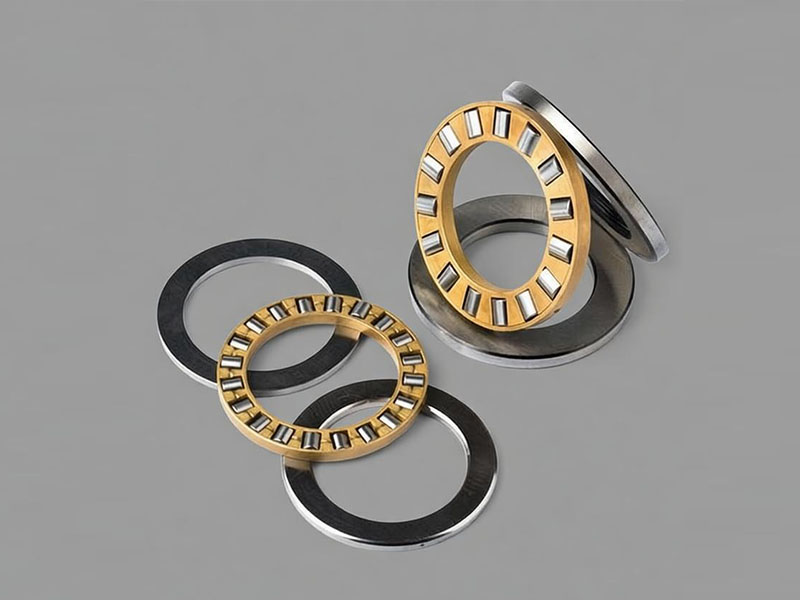
| Condition | Action |
|---|---|
| Minor surface discoloration (no pitting) | Monitor – may not require immediate replacement |
| Light corrosion on non-critical surfaces | Clean, re-lubricate, monitor closely |
| Spalling on raceway or rolling elements | Replace immediately |
| Brinelling dents on raceway | Replace immediately |
| Cage cracked or broken | Replace immediately |
| Severe overheating discoloration | Replace immediately – material properties may be compromised |
| Scoring or abrasive wear | Replace immediately |
| Any rolling element damage | Replace immediately |
General rule: If any rolling element or raceway shows pitting, flaking, indentation, or cracking, replace the bearing. The cost of replacement is far less than the cost of a catastrophic failure.
Conclusion
Thrust bearing failures are rarely mysterious. They follow predictable patterns with identifiable root causes. The six most common failure modes – overheating, spalling, abrasive wear, brinelling, corrosion, and cage damage – each have specific visual signatures that tell you what went wrong.
Prevention is always more cost-effective than emergency replacement. Focus on four areas: proper lubrication (correct type, quantity, and frequency), effective sealing (keep contaminants out), precise alignment (avoid uneven loading), and regular monitoring (catch problems early).
When a bearing does fail, don’t just replace it – investigate. Clean the bearing, examine the raceways, rolling elements, cage, and lubricant. Identify the root cause. Then address that root cause before installing the replacement. Otherwise, the new bearing will fail the same way.
For thrust bearing fundamentals, including types and selection criteria, refer to our main guide: What is a Thrust Bearing. For step-by-step installation and maintenance procedures, see our Thrust Bearing Installation and Maintenance Guide.
FAQs
Q1: What is the most common cause of thrust bearing failure?
A: Lubrication-related issues are among the most common – either insufficient lubricant, degraded lubricant, or the wrong lubricant type. Contamination, misalignment, and improper installation are also frequent causes.
Q2: How can I tell if a bearing failed from spalling or brinelling?
A: Spalling appears as small pits or flakes on the surface – it’s fatigue failure from repeated stress cycles. Brinelling appears as dents or indentations – it’s impact damage from shock loading or hammer blows during installation. Spalling is gradual; brinelling is sudden.
Q3: What does false brinelling look like?
A: False brinelling shows as axial and circumferential indentations on the raceways. Unlike true brinelling (which is caused by impact), false brinelling is caused by vibration while the bearing is stationary. The steel surface shows attrition rather than discrete dents.
Q4: How does contamination cause bearing failure?
A: Contamination introduces hard particles (dirt, sand, metal) into the bearing. These particles act as cutting agents, scoring raceways and rolling elements. With film thickness less than 1 micron, even microscopic particles cause three-body abrasion. Contamination also accelerates wear and can damage seals.
Q5: Why do bearings overheat?
A: Common causes include insufficient or degraded lubricant, excessive preload or axial load, operating speed beyond limits, tight fits, and misalignment. Overheating is often the first warning sign of other problems – investigate immediately.
Q6: Can misalignment cause bearing failure?
A: Yes – misalignment is a leading cause of premature failure. It causes uneven load distribution, high temperatures, lubricant degradation, and accelerated wear. A misaligned bearing shows a ball or roller path that runs from one side of the race to the other.
Q7: How do I know if bearing failure was caused by improper installation?
A: Look for brinelling dents on the raceway – these are typically caused by hammer blows or impact during installation. Also check for misalignment (uneven wear path) and contamination (scoring, scratches). These point to installation problems rather than operating issues.
Q8: What is the difference between brinelling and false brinelling?
A: Brinelling is caused by impact or shock loading – hammer blows, dropping the bearing, or static overload. False brinelling is caused by vibration while the bearing is stationary – during transport or from nearby equipment. Brinelling creates dents; false brinelling creates wear patterns from attrition.
Q9: How often should I inspect thrust bearings for signs of failure?
A: Perform daily checks (temperature, noise, leaks), weekly checks (seals, bolts, lubricant condition), monthly checks (vibration readings, corrosion inspection), and scheduled overhauls (dismantle, clean, inspect all components). More frequent inspection is warranted for critical or heavily loaded applications.
Q10: Should I replace a bearing that shows minor corrosion?
A: Minor surface corrosion may not require immediate replacement if it’s on non-critical surfaces and hasn’t affected the raceways or rolling elements. Clean the bearing, re-lubricate, and monitor closely. However, any pitting, spalling, or damage to rolling elements or raceways requires immediate replacement. Corrosion that has progressed to pitting typically requires replacement.