Quick Answer
How do you grease a U‑joint correctly? Clean the zerk fitting. Use a manual grease gun with NLGI Grade 2 lithium‑complex EP grease (ASTM D4950 LB). Pump slowly until fresh grease exits all four bearing seals. Stop immediately. Wipe excess. Repeat every oil change or after water/mud exposure. A correctly greased joint prevents driveline failure and extends service life.
Universal joints (U‑joints) transfer engine torque through the driveshaft. When they run dry, needle bearings overheat and fail. How often should you grease a U‑joint? What type of grease is safe for modern seals? This guide answers those questions with step‑by‑step instructions based on industry standards and shop experience.
Why Regular Lubrication Prevents U‑Joint Failure
More than 80% of premature U‑joint failures come from insufficient grease. Inside each joint, needle rollers depend on a continuous film of grease to avoid metal‑to‑metal contact. Without lubrication, wear creates play, vibration, and eventually joint seizure. For serviceable (greaseable) U‑joints, routine greasing also flushes out moisture and abrasives that enter past the seals – especially after off‑road driving, pressure washing, or driving through flood water.
Check Your U‑Joint Type First
Not all U‑joints need grease. Look underneath the vehicle:
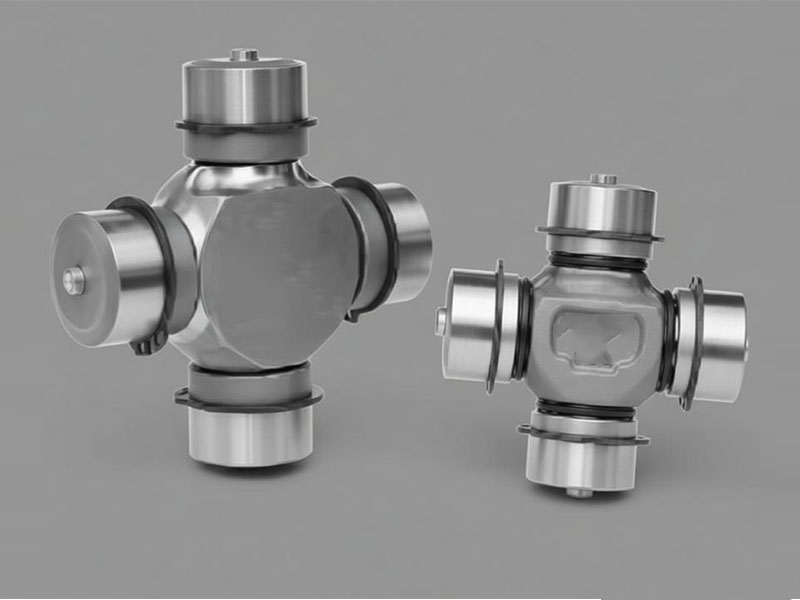
- Serviceable (greaseable) U‑joints – Have a small zerk fitting on the cross or bearing cap. These require periodic lubrication.
- Sealed (permanently lubricated) U‑joints – No fitting. Factory‑filled and sealed. Do not attempt to grease them.
If you see no zerk, the joint is maintenance‑free. Replace the entire assembly when it wears out.
Tools and Approved Lubricant
You will need:
- Manual grease gun (pneumatic guns can over‑pressurize and rupture seals)
- NLGI Grade 2 lithium‑complex EP grease meeting ASTM D4950 LB
- Clean rags, gloves, safety glasses
- Jack and jack stands
- Needle‑nose adapter for recessed or flush fittings
The grease specification is not optional. NLGI Grade 2 has a dropping point above 500°F (260°C) and operates from -40°F to 325°F (-40°C to 163°C). Lithium‑complex thickeners resist water washout and work with most factory‑installed seals.
How to Grease U‑Joints Correctly – Six Steps
- Clean the zerk fitting thoroughly
Wipe away all dirt and old grease from the fitting and surrounding area. Any debris left on the fitting will be pushed directly into the bearing and act as lapping compound. - Attach the grease gun coupler
Push the coupler straight onto the fitting until it locks. An angled or loose connection will leak grease instead of feeding it into the joint. - Pump slowly with a manual gun
Apply steady, moderate pressure. Avoid fast or forceful strokes. Pneumatic grease guns are not recommended because their high flow and pressure can damage rubber seals. - Watch for purge from all four seals
Continue pumping until fresh, clean grease appears at every bearing seal. Do not stop when only one or two seals show grease – all four must purge. This flushes old grease, moisture, and contaminants from each cup. - Stop immediately
As soon as clean grease exits the fourth seal, stop. Over‑greasing can expand or tear the seals, shortening joint life. A small purge is enough; more offers no benefit. - Wipe away excess grease
Use a clean rag to remove spilled grease from the joint, seals, and fitting. Residual grease attracts dirt but does not harm the joint.
Special Conditions: Off‑Road, Mud, and Water Crossings
Water and fine dust ingress happens fast. After driving through deep water, mud, or heavy dust, grease the U‑joints immediately – ideally the same day. Fresh grease forces moisture out and prevents rust on the trunnion. For normal highway use, grease at every oil change (about 5,000 miles / 8,000 km). For off‑road or dusty environments, reduce the interval to every 3,000‑5,000 miles or after each major trip.
Troubleshooting Common Problems
One bearing seal refuses to purge
Try these field‑tested methods:
- Lightly pry the driveshaft upward on the side opposite the stuck cup – this may create a small gap for grease to flow.
- Tap the yoke gently with a soft‑faced hammer (brass or rubber) along the shaft axis, rotate 180°, then repeat. Then apply grease gun pressure again.
- Loosen the bearing cap bolts slightly on the non‑purging side. If grease still does not flow, the bearing is likely blocked and the joint should be replaced.
Clogged zerk fitting
If grease will not enter:
- Re‑clean the fitting exterior.
- Lock the grease gun coupler and apply steady pressure for 30‑60 seconds – dried grease often breaks loose.
- Back the fitting out one or two turns to release trapped air, then try again.
- Use a zerk rejuvenator tool that injects penetrating oil to dissolve hardened grease.
- Replace the fitting if none of the above works (fittings are standard 1/4″‑28 or 1/8″‑27 NPT and inexpensive).
Recessed or hard‑to‑reach fittings
Use a needle‑nose adapter and a flexible hose on your grease gun. Rotate the driveshaft so the fitting points upward (10 to 2 o’clock) and access from above. Raising the vehicle on a lift with the suspension hanging often creates more working space.
Pre‑Lubricating a New U‑Joint Before Installation
Many mechanics skip this step, leading to early failure. New serviceable U‑joints come with only a thin assembly preservative – not enough for normal operation. Before installing:
- Remove each bearing cup.
- Fill the cross’s internal grease cavity completely.
- Pack each bearing cup, working grease between every needle roller.
- Apply grease to the inside bottom of each cup.
- After assembly onto the driveshaft, grease the joint following the six steps above before driving.
Inspect While You Grease
Use each greasing session to check U‑joint health:
- Rotate the driveshaft by hand – feel for notchiness, roughness, or excessive free play.
- Try to move the shaft up and down near the joint. Any detectable movement in the bearing caps means the joint is worn out.
- Look at the purged grease: rust color, gritty texture, or blackened grease indicates internal damage. Replace the joint immediately.
Conclusion
Greasing a U‑joint takes less than ten minutes with a manual grease gun and the correct NLGI Grade 2 lithium‑complex EP grease. Clean the fitting, pump slowly, and confirm that fresh grease purges from all four seals. Follow this routine at every oil change or after water/mud exposure, and inspect the joint for wear each time. Regular lubrication extends U‑joint life by two to three times compared to neglected joints, prevents driveline vibration, and avoids costly repairs. For serviceable U‑joints, no other maintenance delivers as much protection for so little time.
Frequently Asked Questions (FAQs)
Q: How often should I grease U‑joints on a daily driver?
A: Every oil change (around 5,000 miles / 8,000 km) is sufficient for normal on‑road use. If you drive through water, mud, or dusty roads, reduce to every 3,000‑5,000 miles or immediately after each water crossing.
Q: Can I use a pneumatic grease gun?
A: Not recommended. Pneumatic guns generate high pressure and flow that can rupture U‑joint seals. Stick to a manual grease gun. If you must use a high‑pressure gun, fit a low‑pressure adapter.
Q: What is the exact grease specification?
A: Use NLGI Grade 2 lithium‑complex EP grease meeting ASTM D4950 LB. It has a dropping point above 500°F (260°C) and works from -40°F to 325°F (-40°C to 163°C). This matches most driveline manufacturer requirements.
Q: My U‑joint has no zerk – does it need maintenance?
A: No. Sealed (permanently lubricated) U‑joints are factory‑filled and require no greasing. However, inspect them for play or roughness during oil changes. Replace the entire joint if worn.
Q: Why do new serviceable U‑joints need pre‑greasing?
A: Factory‑assembled joints contain only storage preservative, not enough lubricant for normal operation. Pre‑lubrication fills the cross cavity and needle bearings before the joint sees load. Skipping this step causes early failure.
Q: How do I know a U‑joint is already failing?
A: Look for driveline vibration, a clunk when shifting between drive and reverse, or visible rust around seals. During inspection, any bearing cap movement or notchy rotation means the joint must be replaced.
Q: Can I mix different brands or types of grease?
A: Only if they share the same thickener (lithium‑complex). Mixing incompatible thickeners – for example, lithium and polyurea – can cause hardening or separation. When in doubt, flush the joint by greasing until all old grease is purged, then stick to one type.
Q: What if the zerk fitting is stripped or broken?
A: Replace it. Standard sizes are 1/4″‑28 and 1/8″‑27 NPT. Remove the old fitting with a small wrench or extractor, clean the threads, and install a new one. Then grease normally.
Q: Does greasing really extend U‑joint life?
A: Yes. Field data shows a regularly greased serviceable U‑joint lasts two to three times longer than a neglected one. Routine greasing also flushes moisture and abrasives, preventing rust and pitting on the trunnion.
Q: Do I need to grease all four caps separately?
A: No. One zerk fitting lubricates the entire cross. The key is to pump until fresh grease exits all four bearing seals – that confirms every cup has received new lubricant.


