Installing a bearing onto a shaft is a routine operation in mechanical maintenance and assembly. However, improper installation is a leading cause of premature bearing failure. Whether you are working on an automotive wheel hub, an electric motor, or industrial machinery, the question “How to install bearings on a shaft?” requires a clear, methodical answer. This article will provide step-by-step instructions based on engineering best practices, covering preparation, correct force application, and common pitfalls to avoid.
Understanding Shaft Bearings (Brief)
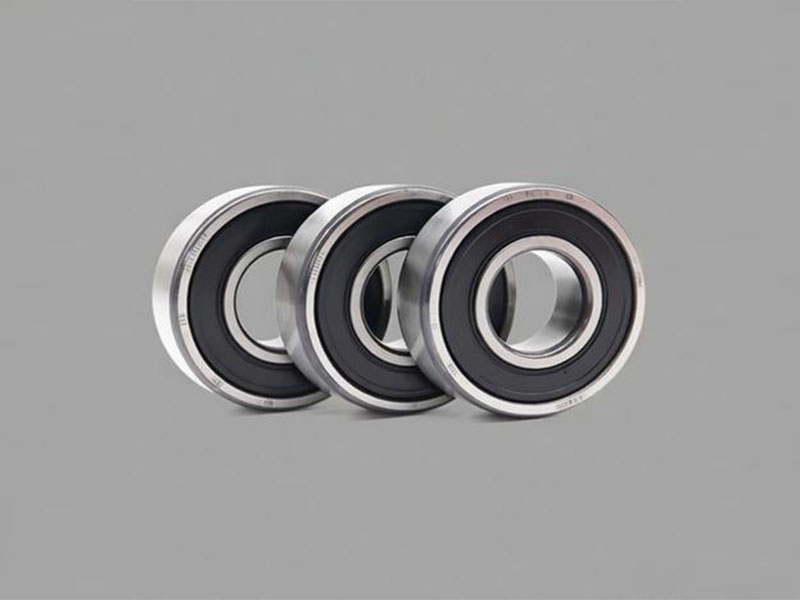
A shaft bearing supports a rotating shaft, reduces friction, and maintains alignment. In most shaft mounting scenarios, the inner ring of the bearing has an interference fit (tight fit) with the shaft, while the outer ring may have a clearance fit in the housing. This interference fit is why proper installation technique is critical – forcing the bearing incorrectly can damage the raceways or rolling elements.
Pre-Installation Checklist
Before attempting to install a bearing on a shaft, complete the following checks:
- Verify size and compatibility – Confirm that the bearing’s bore diameter, shaft diameter, and tolerance classes match the design specifications. A mismatch of even 0.01 mm can lead to loose fit or seizure.
- Examine bearing and shaft surfaces – Inspect the shaft for burrs, nicks, rust, or scratches. Use fine emery paper to smooth minor imperfections. The bearing bore should be clean and free of shipping preservative if it is a greased bearing.
- Clean and apply lubricant (if specified) – For most open bearings, wipe a thin film of clean oil onto the shaft to assist assembly. For sealed bearings, do not remove the factory grease; only lubricate the shaft surface to reduce friction during pressing.
Core Principle – Apply Force to the Correct Ring
This rule is fundamental: the pressing or mounting force must be applied directly to the ring that is experiencing the interference fit.
- When the bearing inner ring is tight on the shaft (common case), push or press only on the inner ring.
- When the outer ring is tight in the housing (rare for shaft mounting but possible), push on the outer ring.
- Never transmit force through the rolling elements (balls or rollers) from one ring to the other. Doing so will brinell the raceways and ruin the bearing.
Installation Methods for Bearings on a Shaft
Depending on the interference level, bearing size, and available tools, three methods are commonly used:
- Mechanical (cold) pressing – Suitable for small to medium bearings with moderate interference. Use an arbor press or hydraulic press with proper tooling (a sleeve that contacts only the inner ring face).
- Thermal expansion (heating the bearing) – For larger interference fits or when press force would be excessive. Heat the bearing in an induction heater or clean oil bath to 80–100°C (176–212°F). The inner ring expands, allowing it to drop onto the shaft without force. Never use an open flame.
- Oil injection method – For very large bearings or hydraulic fits. Oil is injected between the shaft and bearing bore to reduce friction, allowing the bearing to be pushed axially into position.
Step-by-Step Installation Procedure (Cold Pressing Example)
Follow these steps for a typical inner-ring interference fit installation:
- Step 1 – Select the correct pressing sleeve – The sleeve must contact the inner ring face only. Its outer diameter should be slightly smaller than the bearing’s inner ring shoulder, but larger than the shaft diameter.
- Step 2 – Support the shaft properly – Place the shaft vertically on a press table with a soft support (e.g., a block of aluminum or hardwood) under its end to avoid bending.
- Step 3 – Align the bearing squarely – Place the bearing onto the shaft end by hand. Ensure the bearing axis is parallel to the shaft axis. Tilted start leads to galling.
- Step 4 – Apply initial pressure – Lower the press ram slowly until the sleeve contacts the inner ring. Apply force in a steady, controlled manner. Do not jerk or impact.
- Step 5 – Monitor the progress – The bearing will slide down the shaft. If resistance spikes, stop and check alignment. Forcing through misalignment will damage the shaft or bearing bore.
- Step 6 – Press until fully seated – Continue pressing until the inner ring face contacts the shaft shoulder or reaches the designed axial position. Listen for a change in pressing sound – a sudden drop in force often indicates seating.
- Step 7 – Verify final position – After removal from the press, check that the bearing rotates smoothly. A rough or notchy feel suggests brinelling or misalignment.
For thermal installation: Heat the bearing, then slide it onto the shaft until it contacts the shoulder. Hold light axial pressure until the bearing cools and shrinks to achieve the interference fit.
Common Mistakes to Avoid
- Hammering directly on the bearing – Even with a soft punch, hammering often creates unbalanced force and damages raceways. Always use a press or proper sleeve.
- Applying force through the outer ring – When installing a bearing onto a shaft, pressing on the outer ring will push the balls against the inner ring raceway, creating dents.
- Ignoring shaft fillet radius – If the shaft has a fillet at the shoulder that is larger than the bearing’s chamfer, the bearing will not seat. Measure fillet and chamfer before installation.
- Overheating the bearing – Temperatures above 125°C (257°F) can change the bearing’s heat treatment or degrade grease. Use a temperature indicator.
- Installing a bearing on a damaged shaft – A scratch or burr may scrape material into the bearing bore, causing later seizure.
Frequently Asked Questions (FAQs)
Q1:Do I need to lubricate the shaft before installing the bearing?
Yes, for most press-fit installations, a light film of clean oil on the shaft reduces friction and prevents galling. However, do not use grease if the bearing will be heated – grease may carbonize.
Q2:Can I use a hammer and a piece of pipe to install a bearing?
This is not recommended. The pipe may not be perfectly square, and impact forces can brinell the bearing. A mechanical press or arbor press is strongly preferred.
Q3:What if the bearing gets stuck halfway on the shaft?
Do not continue hammering. Remove the bearing using a puller (which may damage it) and inspect both surfaces. The cause is often a burr, misalignment, or incorrect tolerance. Replace the bearing if removal was forced.
Q4:How do I know if a bearing needs to be heated for installation?
As a rule of thumb, if the shaft diameter is over 50 mm (2 inches) or the calculated press force exceeds 30–40 kN, heating is safer. Many engineering manuals specify the interference level; when the interference exceeds 0.05 mm on a 60 mm shaft, heat the bearing.
Q5:Is the installation procedure different for ceramic hybrid bearings?
Ceramic hybrid bearings (ceramic rolling elements, steel rings) follow the same principles: apply force to the inner ring only. However, they are more sensitive to shock loading, so thermal installation is often preferred.
Conclusion
Installing a bearing on a shaft correctly demands preparation, the right tools, and strict adherence to the rule of applying force to the interference-fit ring. Whether you choose cold pressing or thermal expansion, the goal is the same: seat the bearing without damaging the raceways or rolling elements. A properly installed bearing will deliver its full service life, reducing unplanned downtime and maintenance costs. For manufacturers like DUHUI Bearing – a China-based producer of automotive wheel hub bearings and other bearing types – providing clear, technically sound installation guidance supports engineers and technicians worldwide in achieving reliable machine performance.